Menu Editor
System > Site Design > Learning Portal Website > Menu Builder
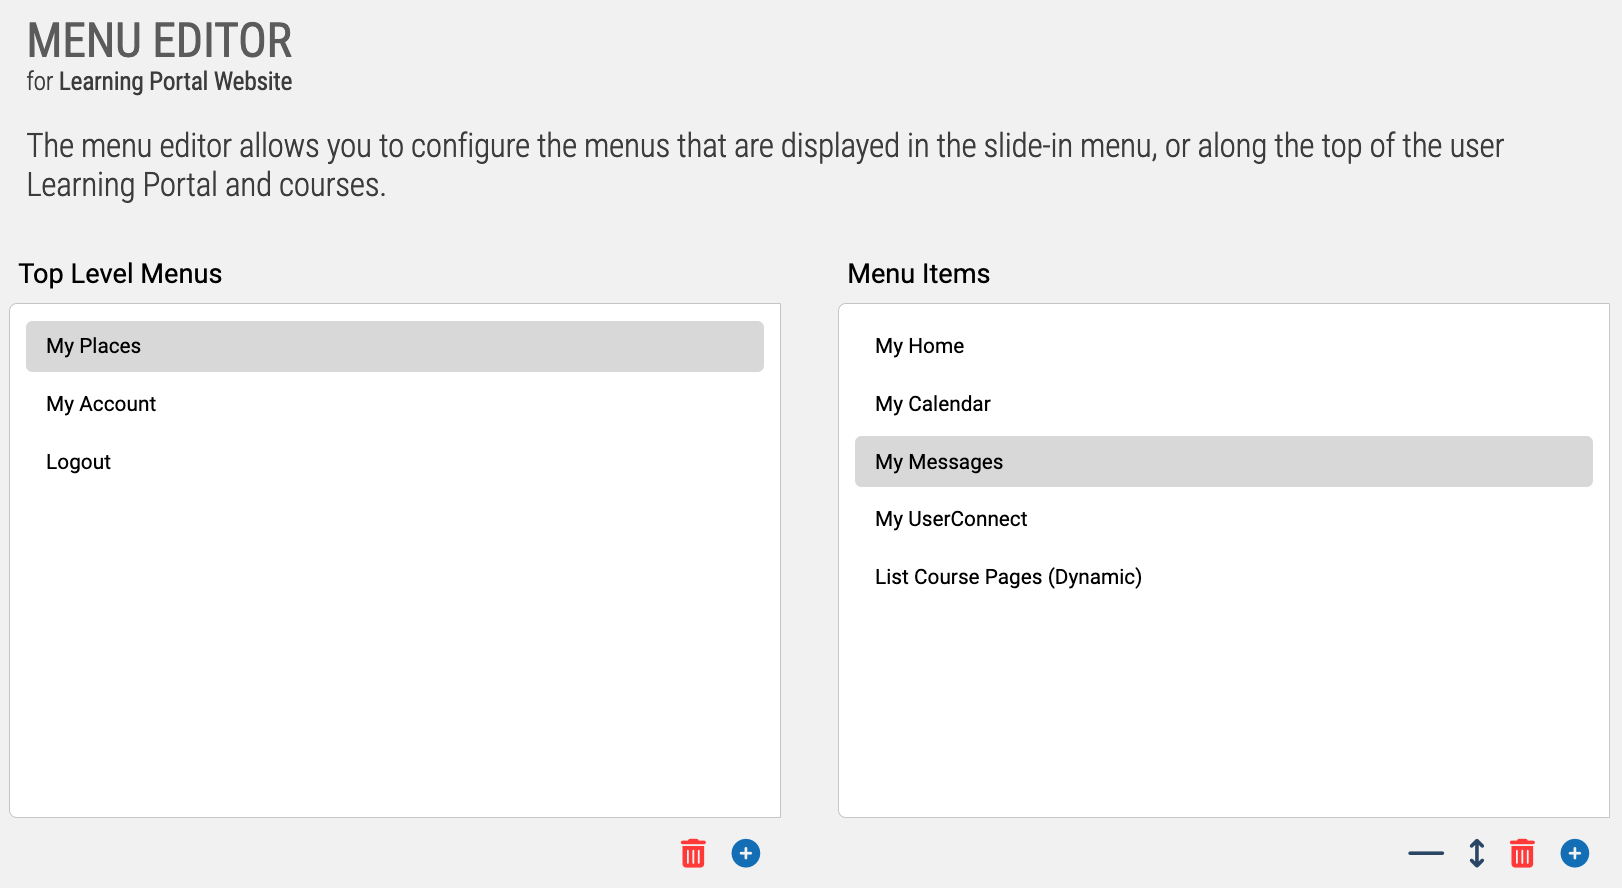
The menu editor allows you to configure the menus that are displayed in the slide-in menu, or along the top of the user Learning Portal and courses.
The menu builder is divided into 2 areas. The left column includes your "Top Level Menus", which appear on the navigation and are expandable. Additional Top Level Menus can be added by clicking the Addition Symbol (+) below the left column.
Within Top Level Menus are "Menu Items", which perform an action, or open a Page when selected. Additional Menu Items can be added by selecting a Top Level Menu from the left column, then clicking the Addition Symbol (+) below the right column. To change the order that menu items appear, click and drag any item up or down in the list into its new position.
When you choose to add a Menu Item, you will be prompted to select some information about what this Menu Item should do and be represented.
Each Menu Item will need its own Caption, which is how the Item is represented in the User navigation.
After filling out a Caption, you'll need to select a function for the Menu Item. The functions are divided into 4 basic categories.
Global Menu Options
These are an assortment of generic functions system functions that can be used regardless of where a User is accessing the navigation from (Learning Portal or Online Course).
- Change User Password
- Edit User Profile
- Manage Mail Preferences
- Logout of System
- Open Calendar in a Popup Window
- Open Forums in a Popup Window
- Open Messages in a Popup Window
- Open Notebooks in a Popup Window
- Open UserConnect in a Popup Window
- Open Chat in a Popup Window
- Return to the Learning Portal Homepage
Learning Portal Only Menu Options
These items are functions that can be configured to appear only when the user is in the Learning Portal, and therefore will not appear when they have navigated into an online course, but will show up again once they navigate away from the course and back into one of the Learning Portal pages.
- View Store
- View Cart
- List Learning Portal Pages*
List Learning Portal Pages
Each of these items generate a dynamic listing of menu items to the user — which will generate 1 menu item for each page. For example, if List Learning Portal Pages (Page Group 1) is selected, and there are 5 pages in Page Group 1, then 5 menu items will appear in the menu (1 for each of the 5 pages). The caption for each item will be that of the page title of each page.
The All Accessible option means all pages the user has access to - across all page groups. If you have a complex site with lots of pages, this may not be a good option to use since the list of menu items can be quite large.
The Auto option will generate a list of pages in the page group of the current page. For example, if a user in currently on a page that resides in Page Group 7, then the list of menu items (pages) will be all pages in Page Group 7. If they then move to a page in Page Group 5, the items will change and will be a list of pages in Page Group 5.
Course Only Menu Options
These items are functions that can be configured to appear only when the user is in an Online Course, and therefore will not appear when they have navigated outside of a Course (and back into the Learning Portal).
- Collapse all Subsections
- Expand all Subsections
- Return to the Learning Portal Homepage
- List Course Pages (Dynamic)
This generates a list of Pages in the Course the User can select from.
Custom Menu Options
This final section is a collection of items that are custom functions:
- Open a webpage in a new window
- Display a message in a slide down modal window
- Run Javascript Code
(Recommended for those with JS experience)