(Almost) Everything you need to know about using videos in Axis LMS.
Axis LMS can offer a tremendous amount of utility for your company, and one of the most evident examples of this is the built in website designer. Both the Account Website and System Website give you the opportunity to show off your products, your philosophies, and your company as a whole.
One of the most popular design choices for company websites is to incorporate videos, both promotional and informational advertisements. Depending on the layout you’ve chosen for your pages, how you weave these videos into the site may differ, but there are 3 primary methods: Resource Libraries, Articles, and stand-alone videos.
While videos can certainly be tracked and required to watch as part of training, this article will discuss the various ways you can incorporate videos that do not need to be viewed as part of training.
Resource Libraries
Resource Libraries allow you to house an ever expanding collection of videos, where trainees will have filtering capabilities to locate the exact video(s) they would like to view.
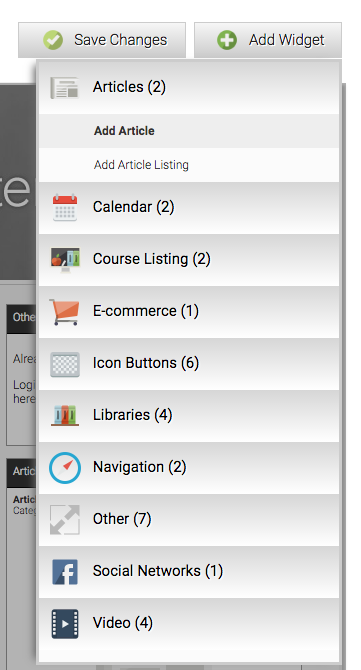
Resource Libraries are added to the Learning Portal via a Library Widget. There are four different variations – one for each resource type, and one culmination. These can be added onto Portal Pages by going to System > Site Designer > Learning Portal Designer | Account Website > Edit [page] > Add Widget > Libraries.
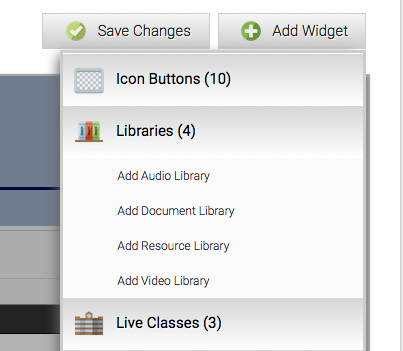
From the screenshot above, you can see the four different libraries that can be added.
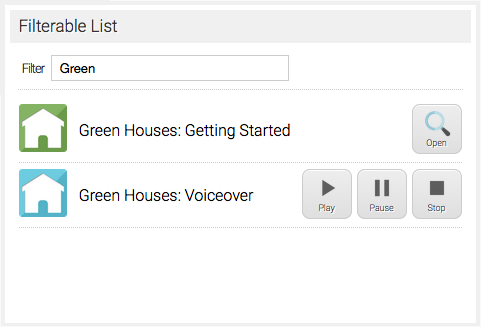
After adding a Library widget, editing the widget brings up a selection of different settings to display in a tile view, include a search box, and a toggle listing of what types of files to display.
After adding a widget to a page, the widget will need to be edited to select which library should display in that widget. If there are no libraries to select from, read below.
Creating a Library
Creating a library for Library widgets is very easy, as it is all done through the built-in files area. The first step if to build the library’s folder [System > Files > File Manager > /_other > /libraries]
From within the /libraries folder (which may need to created if it doesn’t already exist), the next step is to create a folder for the resource Library widget. Each folder you create within the libraries folder will be a selectable library for your widget
After the library folder is created, it still needs to be populated with content (MP4s, MP3s, PDFs). Each file type does have its own default icon in place, but can be overwritten on a file-by-file basis, all it takes is one additional file.
To replace the default icon for an individual file, upload a PNG file with the same name as the associated file. For example, if an MP4 titled “Introduction_to_Heavy_Machinery.mp4” has been uploaded, to overwrite the default MP4 icon, a file would need to be uploaded to this same folder named “Introduction_to_Heavy_Machinery.png”
This concept of using a mimicking a file name can also be used to set a description for your different resources. To make a text description appear when a user hovers over the resource “Introduction_to_Heavy_Machinery”, upload a TXT document of the same name (“Introduction_to_Heavy_Machinery.txt”) into the same library folder. Whatever text is within that file will be displayed when a user hovers over the “Introduction_to_Heavy_Machinery” resource.
Articles
Articles compliment businesses that are able to produce engaging publications fairly regularly. Articles can also have any number of videos associated with it, allowing you to effectively highlight several videos simultaneously. By always featuring the latest articles, new content is always visible; but still provides users a way to read and view your previous pieces. The Article Widget allows you (or your sub-admins) to author your own blog articles to be published in your Account and Learning Portal websites.
To access and work with Articles, you’ll need to begin by opening your System tab, then selecting Site Design and Articles (Blog).
Creating an Article
When creating articles, there are three pieces of content you’ll be required to fill out: Title, Category, and Body.
The Article Title is how you and your visitors will be able to identify this Article.
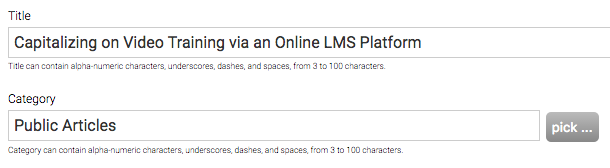
The Article’s Category is how you will be able to filter which listing this Article appears in.
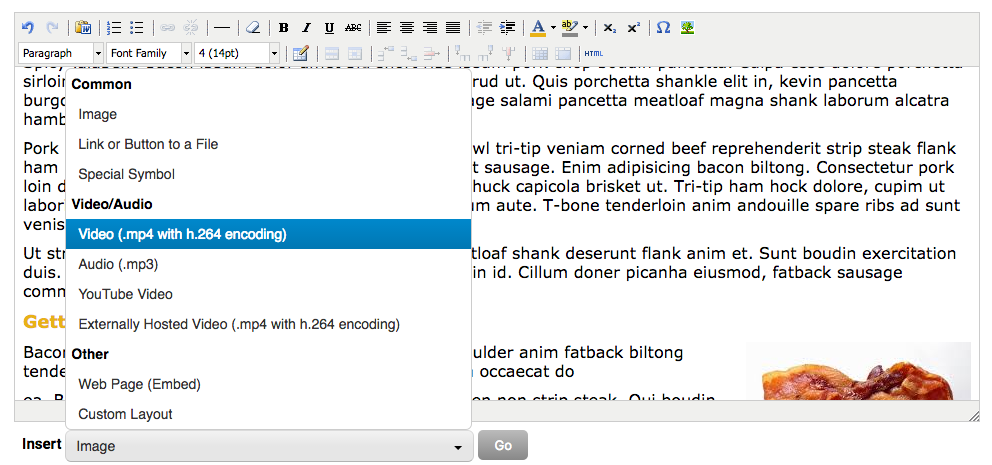
The Body of your Article is where the meat of your Article is entered. Similar to the other text editors in Axis LMS, the article editor has both a Display, and an HTML View; these displays allows you to tailor different styles for your fonts, and easily insert graphics, videos, and links for your visitors to interact with.
Presenting Articles
After writing one or more articles, you’re ready to get them out there to your visitors. This can be done from both the Account and Learning Portal Websites.
You’re able to write different articles towards different audiences. The Learning Portal, for example, is gated behind an Active User login; while your Account Website may be freely accessed without the visitor needing to login.
There are two types of widgets you’re able to add to your Websites: an “Article”, or an “Article Listing”. The Add Article widget adds an article in-line to your page. An Article Listing widget adds an entire category of Articles to your page, which a user may click on to take them to the full article. When using both widgets on the same page, selecting an Article from the Article Listing widget will not bring your visitor to a new page; instead, the Article widget will update to reflect the selected article.
Stand-Alone Videos
Stand-alone videos are best for videos that do not get replaced on a regular basis. These are usually promotional advertisements, which are placed near the top of your pages so that it’s the first thing visitors see when they visit your site.
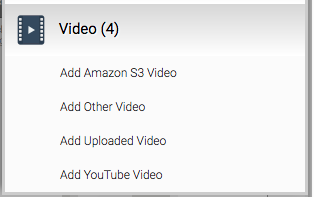
Stand-alone videos are added to the Learning Portal or Account Website via a Video Widget. There are four different types of videos you are able to add, depending on the source. These can be added onto Portal Pages by going to System > Site Designer > Learning Portal Designer | Account Website > Edit [page] > Add Widget > Video.