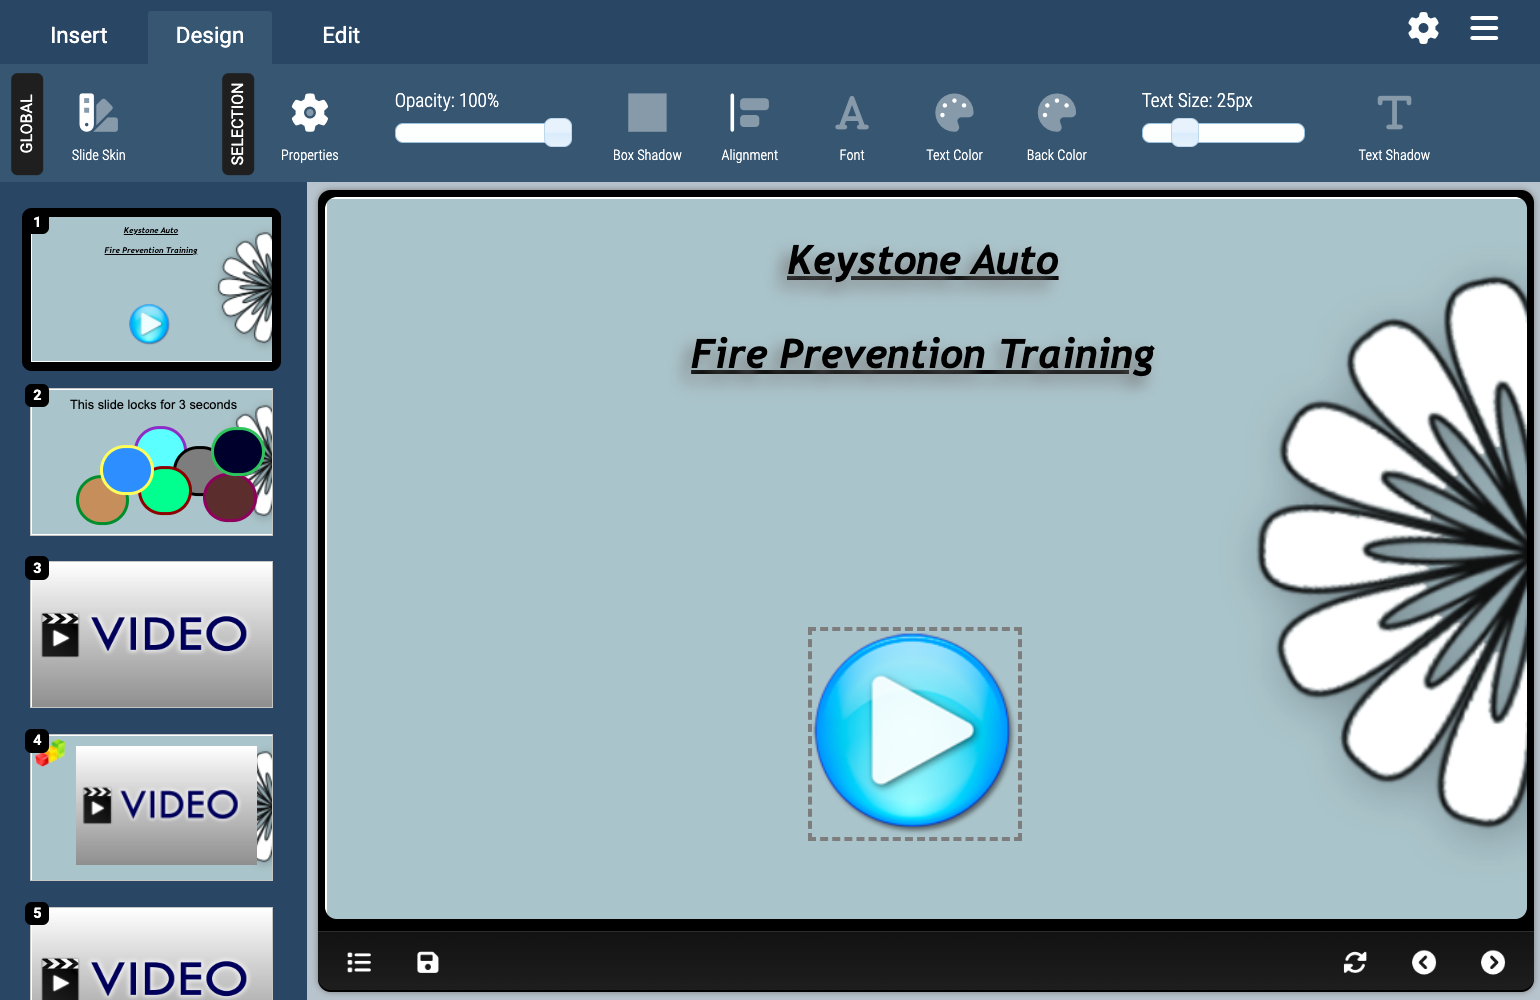
The Design Tab
The Design Tab allows you to change the visual appearance and behavior of the objects inserted into your slide.
Theme
Change the theme/skin (background) used in your module. You can also create your own skins by choosing the Create a Skin option and selecting a background image from the Axis File Library or by uploading a background image from your computer.
Background images should be in .jpg, .gif, or .png format and will automatically be resized to the size of module (750px wide by 450px high). Once you create a new skin, that skin will available for use with any other module as well as in the default module settings and individual module settings. You can further customize the skin and background image/color by using the Extra CSS section of the module settings.
Selection Settings
Opens up the Selection Settings window, where you can position and size an object, set animation effects, and assign click events, for the currently selected object(s). The Selection Settings window can be moved to any location on the screen by clicking and holding the mouse button on the window titlebar and dragging-and-dropping to the desired location. For more information on the Selection Settings consult the Selection Properties, Selection Effects, and Selection Click Events sections of this manual.
Opacity
Slide the opacity bar to set the opacity (transparency) of the selected object(s) on a scale of 0 to 100 (does not work on Video or YouTube Objects).
Box Shadow
Apply a box shadow to the currently select object(s). To set a shadow for the selected object(s), click on the Box Shadow button and choose a shadow style from the dropdown. To remove a box shadow from the selected object(s), click the Box Shadow button and choose the No Shadow option from the dropdown.
Alignment
Set the alignment of either text in a Text Region or objects on the slide. To set the alignment for a Text Region, select the Text Region(s) on your slide and choose on the text alignment options from the dropdown menu. To align objects on the slide, select the objects you wish to align with one another and choose on the object alignment options from the dropdown menu.
Font
To set the font used by a Text Region, List, or Table, select the object(s) on the slide and then select the font style you would like to use from the Font dropdown menu. To set an object to use a font style that is not listed here, you can assign a CSS Class to the selected object(s) and then use the Extra CSS section of the module properties to set a specific font style.
Text Color/Border Color
To change the foreground (text) color of a Text Region, List, or Table (or the border-color of a vector shape), select the object(s) on the slide and then select the color you would like to use from the Text Color/Border Color dropdown menu.
Background Color
To change the background color of a Text Region, List, or Table, select the object(s) on the slide and then select the color you would like to use from the Background Color dropdown menu.
Text Size
Slide the text size bar to set the font size of the selected Text Region, List, or Table object(s) on a scale of 0px to 100px. To set an object to use a font size higher than 100px, you can assign a CSS Class to the selected object(s) and then use the Extra CSS section of the module properties to set a specific font size.
Text Shadow
To add a shadow to the text in a Text Region, List, or Table, select the object(s) on the slide, click on the Text Shadow button, and choose a shadow style from the dropdown. To remove a shadow from text, select the object(s) on the slide, click on the Text Shadow button, and choose the No Shadow option from the dropdown. Note: Text shadows will not appear to the user if they are using any version of Internet Explorer, or are using an older web browser, but the text will still render.
Bold, Italic, & Underline
To apply bold, italic, or underline font-styling to text in a Text Region, List, or Table, double-click the object to bring the text in to edit mode, highlight the text you would like to style, and click either the Bold, Italic, or Underline button to toggle the style. You can apply additional styles to text in a Text Region, List, or Table by assigning a CSS Class to the object(s) and then using the Extra CSS section of the module properties to set a specific font style.