ILT and Virtual Classes in Axis LMS

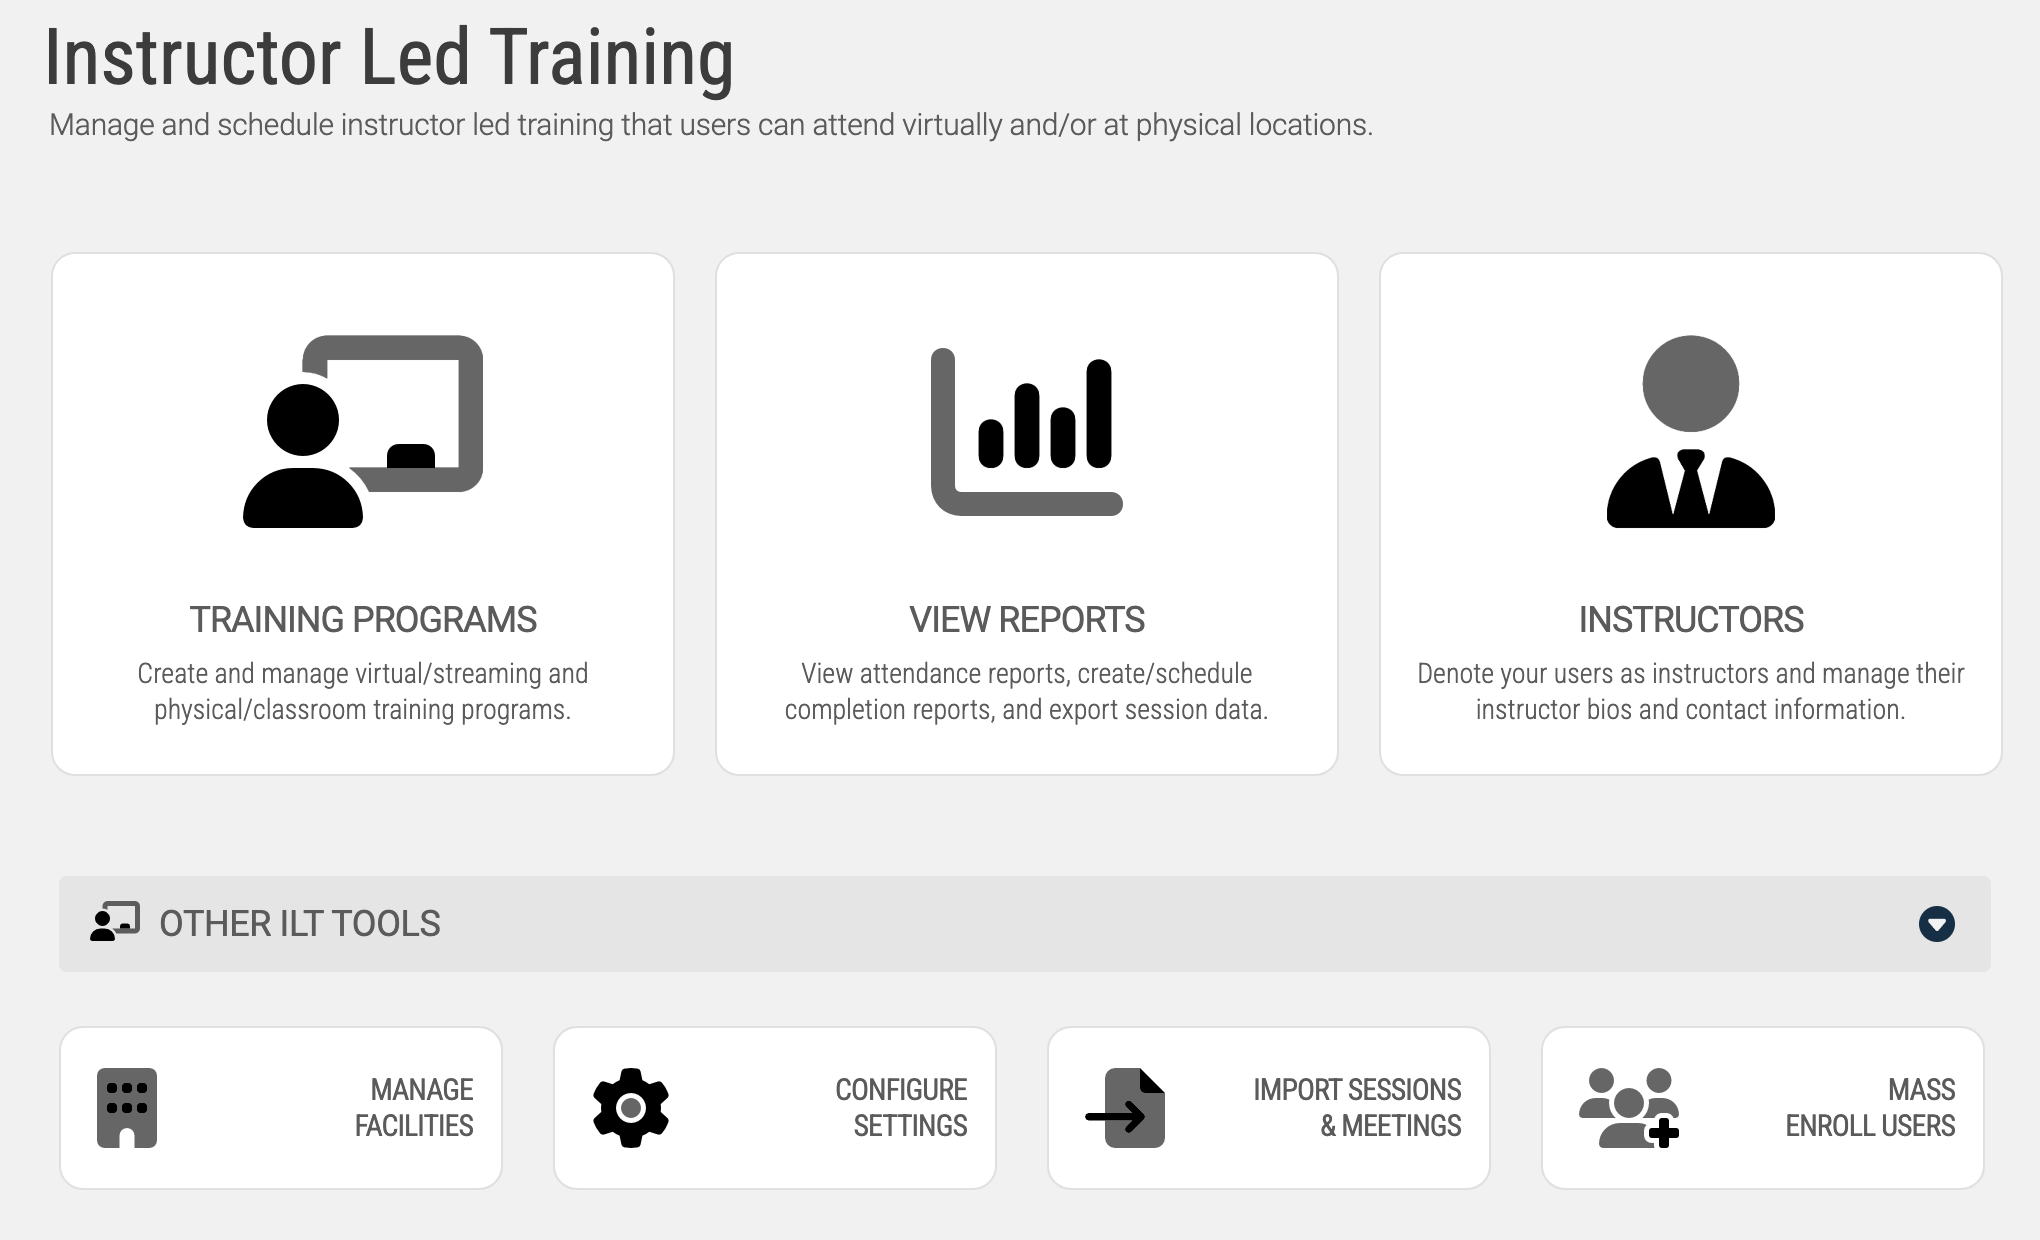
When you get started with ILT, you'll be prompted with 4 different areas you can begin with:
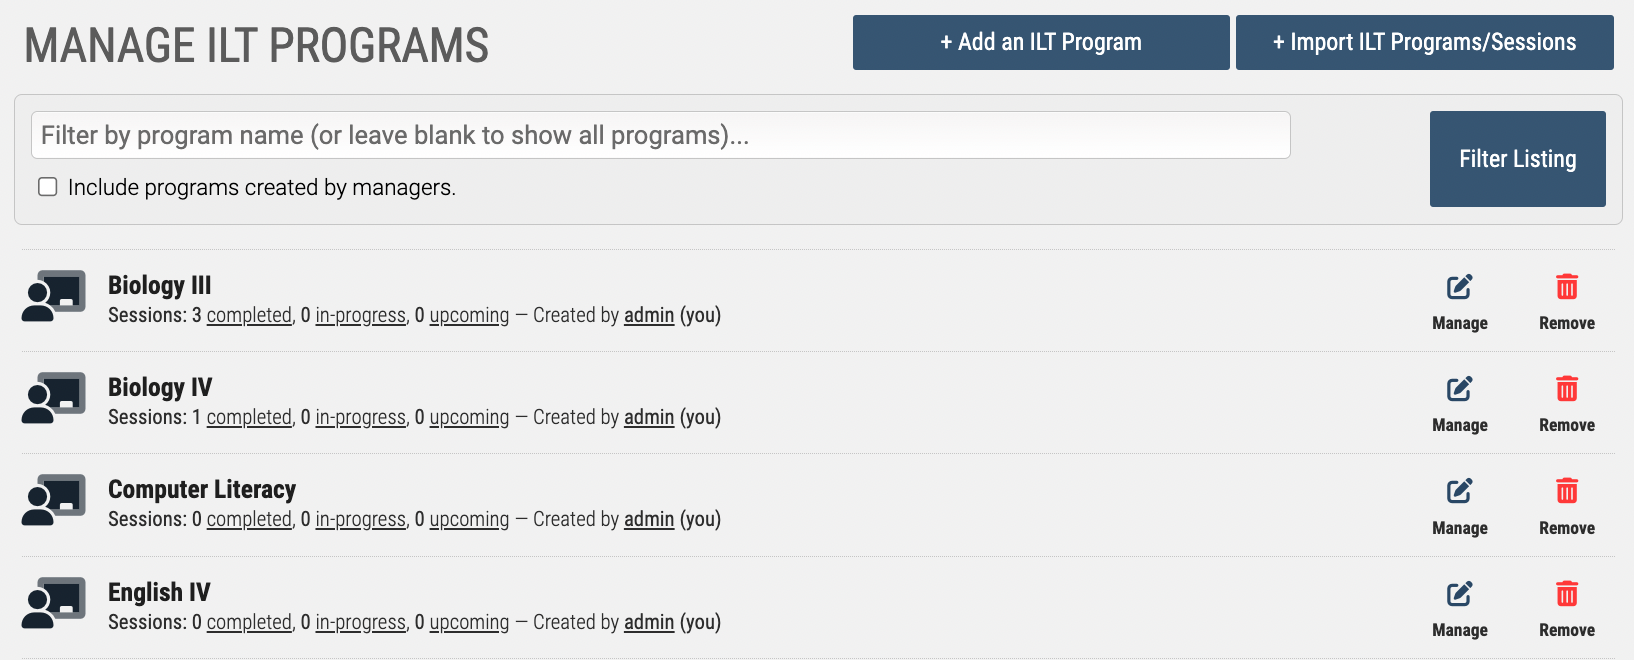
Training Programs - This is where the bulk of your ILT management will be done
Facilities - This is where you can create locations for on-site training
Instructors - Use this to create Instructors out of existing users
Settings - Set the defaults for many different ILT items
Setting up your ILT Program
Programs are made up of Sessions. Sessions are made up of Meetings. Meetings have a date, location, and instructor.
Before you set up your first ILT Program, you'll want to have a basic idea of what you're creating; and the best comparison would be to a college level course. The course could be offered multiple times throughout a single semesters at different times, places, and instructors.
With this comparison in mind, it is recommended to create a single "Physics II" class; not a separate "Physics II with Dr. Henderson", "Physics II with Dr. Nelson", etc. All this information will be apparent to the user when they go to select a 'session' from within the ILT Program.
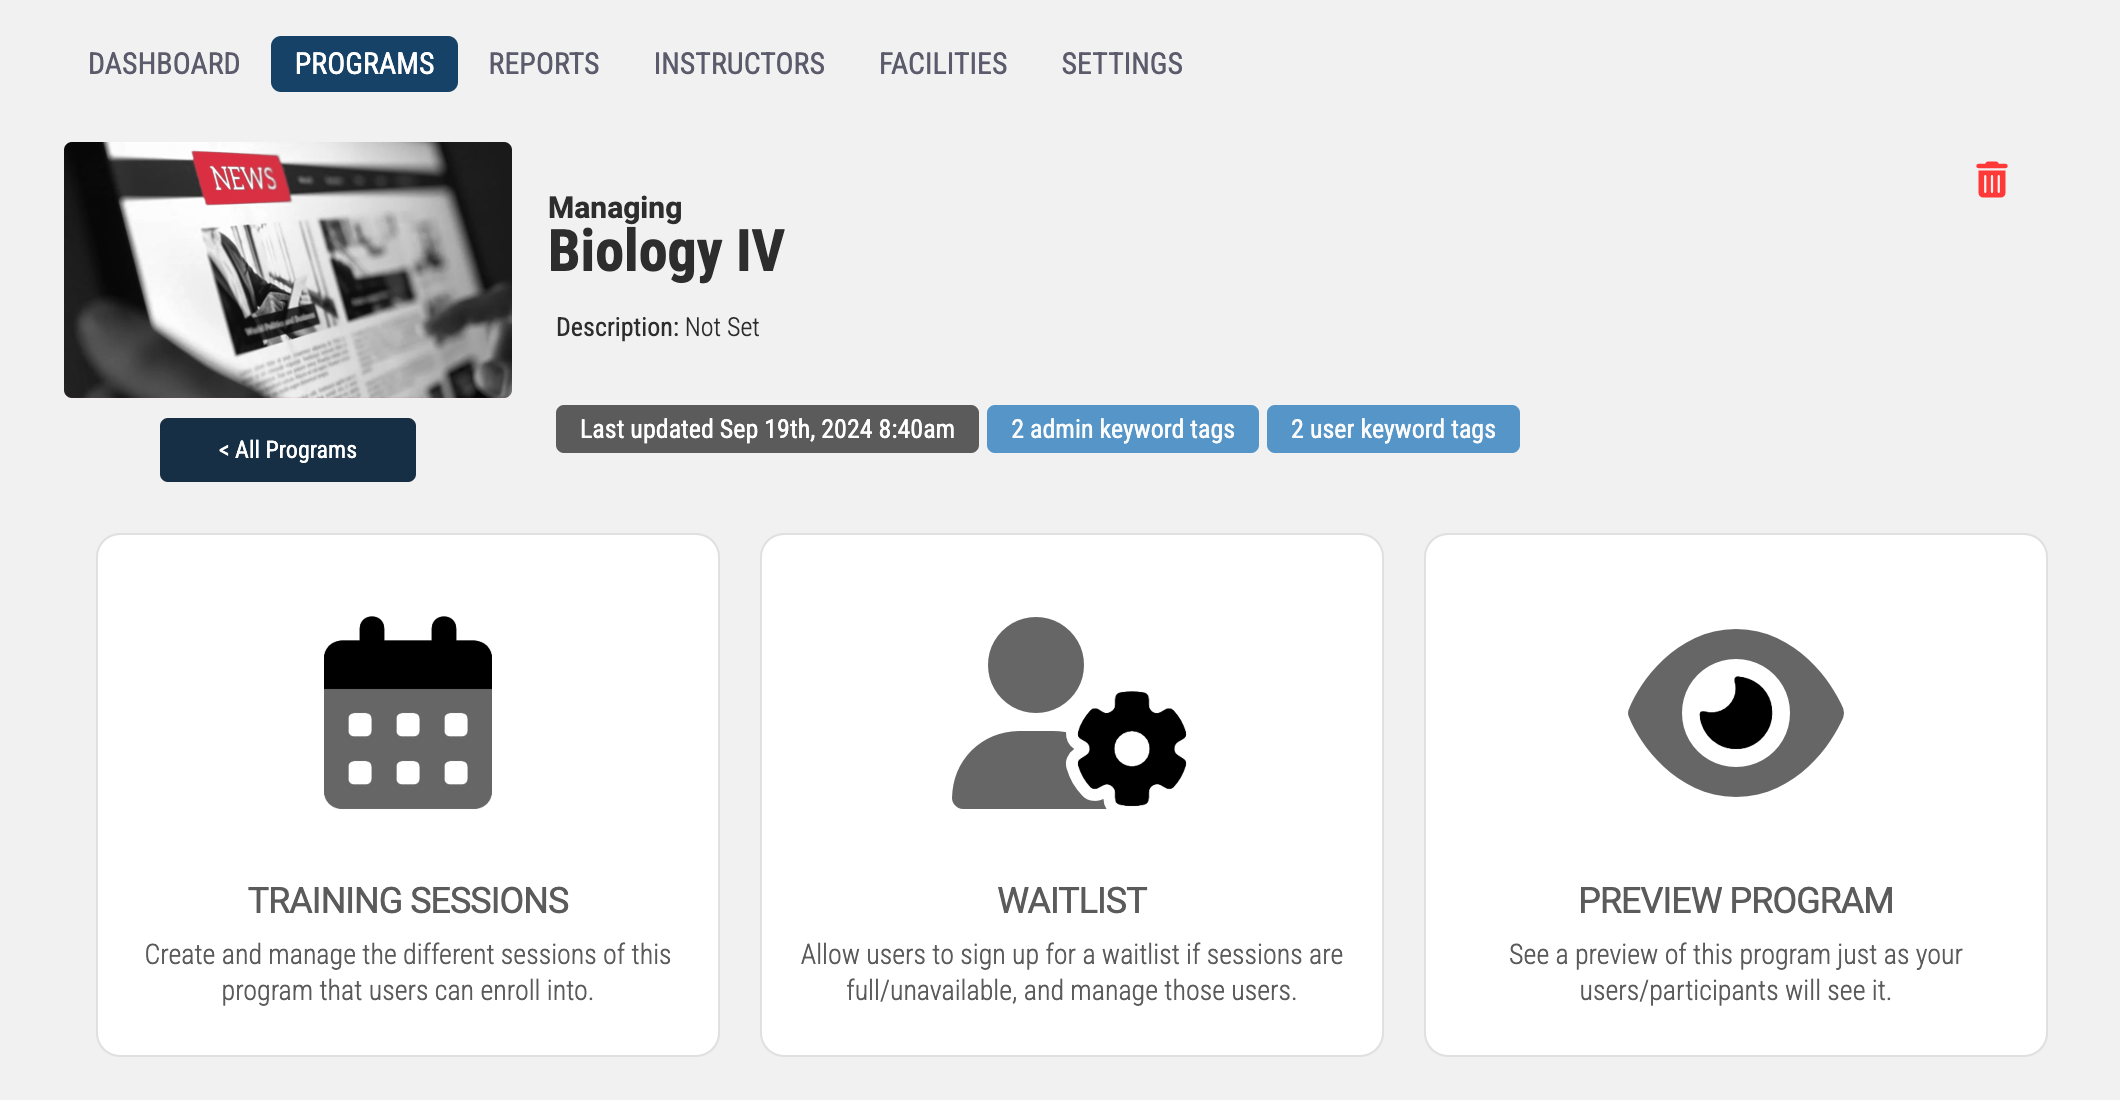
Once your first ILT Program is set up, you'll be presented with many different options; but to get straight into your first 'semester', you'll want to select the "Training Sessions" tile. And here is where you can create distinctions between the same class offered by different instructors and times.
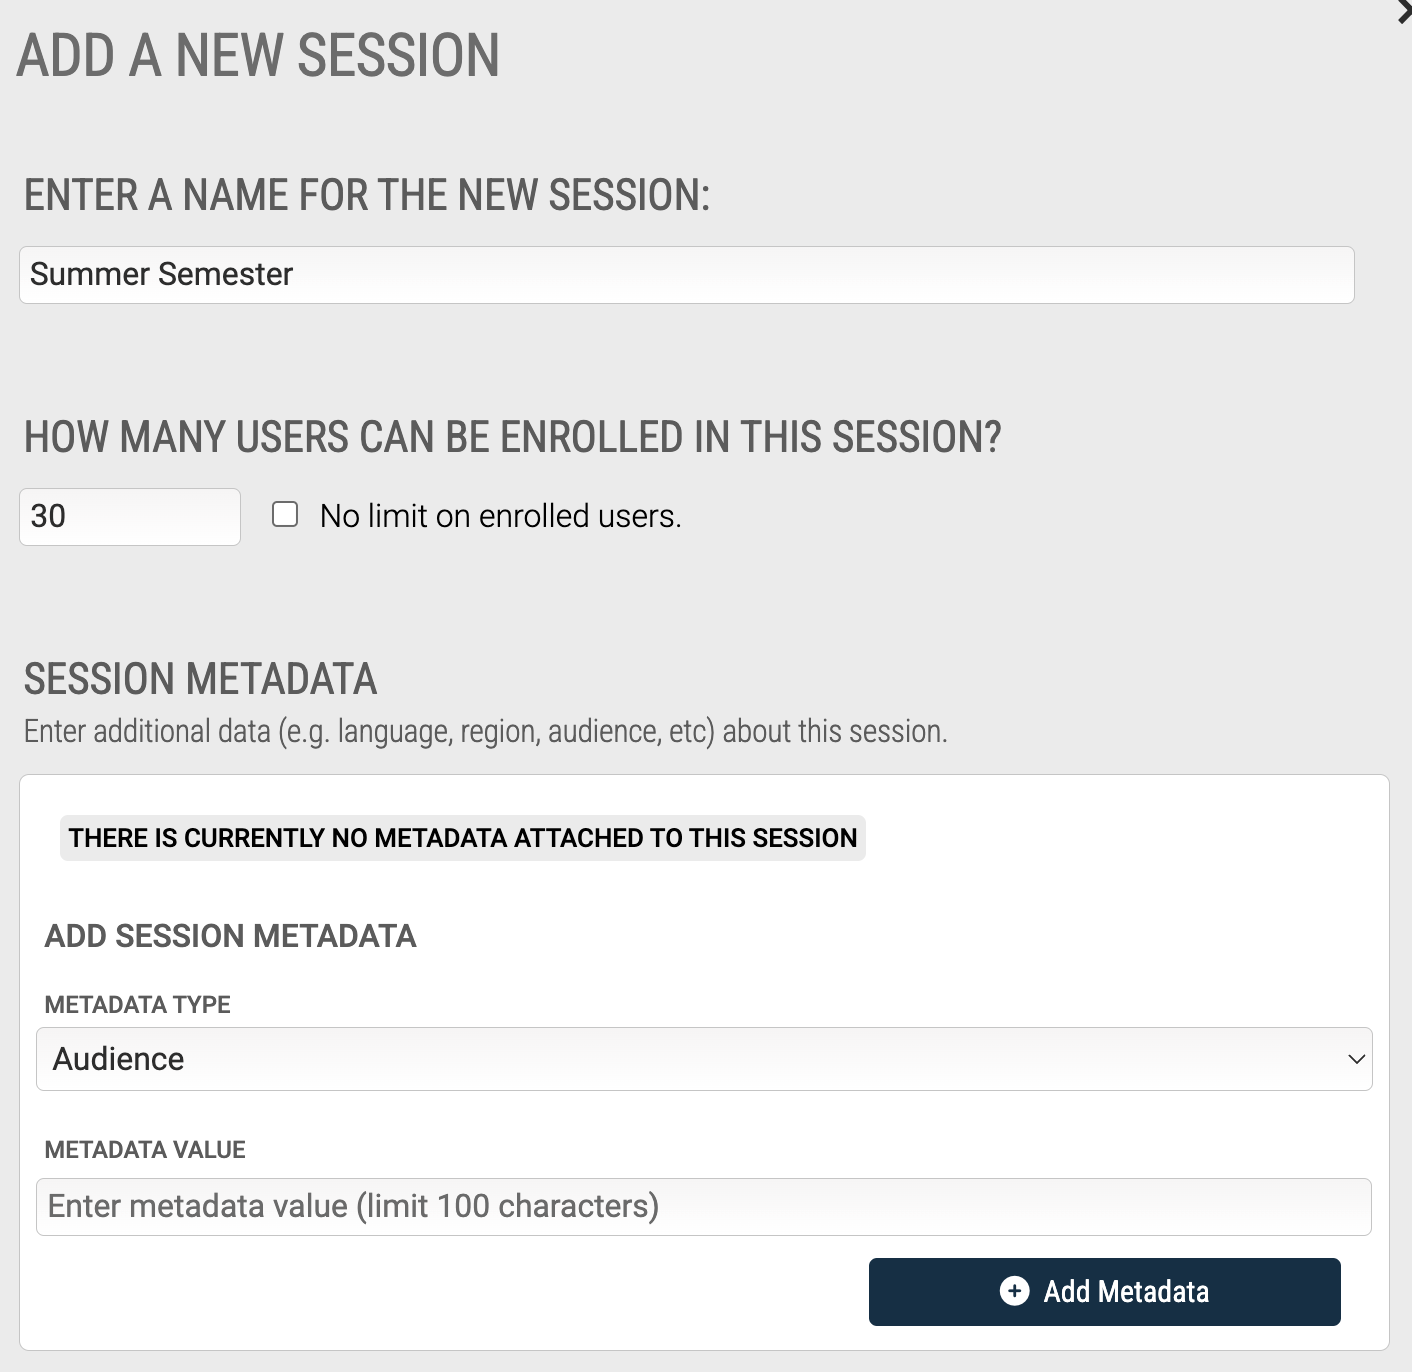
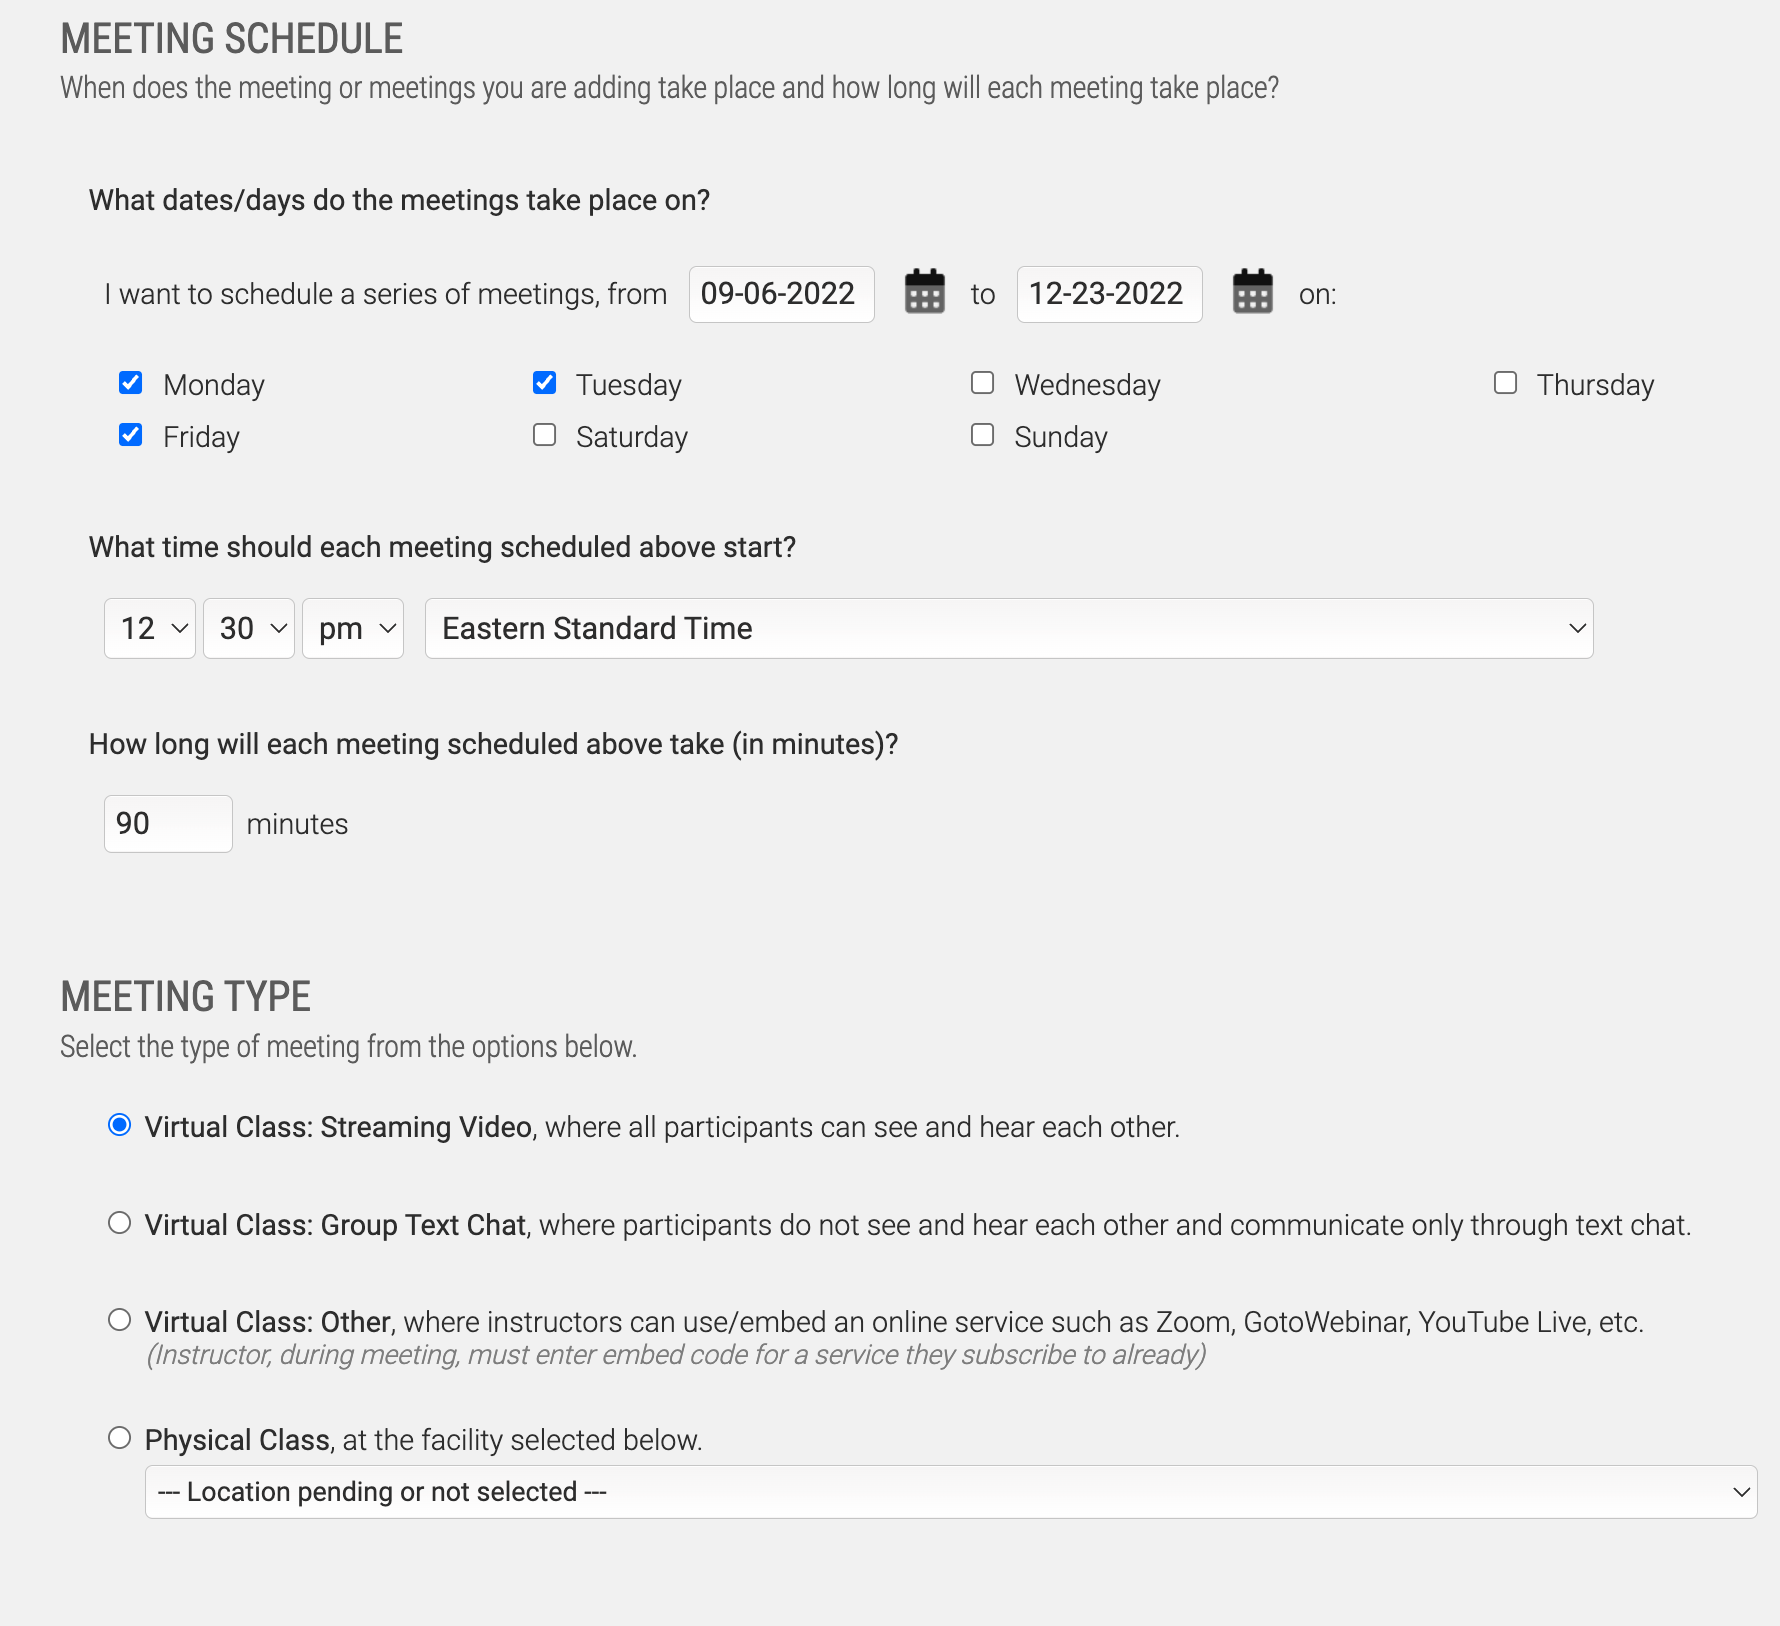
When you create a Session for your ILT program, you'll initially be prompted with only a few different required items: a name and a user cap (if applicable). Next, you'll want to add Meetings into the Session - you can do this by clicking the Meetings button associated with your new Session.
When creating meetings, choosing series of meetings will allow you to create identical meetings over a large stretch of time.
For meetings (or series of meetings) you create, you'll want to select when each meeting begins; how long it will take; meeting Locations*, and meeting Instructor(s)*.
- Locations and Instructors can be created from the ILT dashboard
After you've populated your Session with Meetings, you'll be ready to Activate the Session. Activating the Session will bring the session into a 'live' mode, meaning Users can now sign up for it; and any users who were on the Program's waitlist will be notified of a new Session being added*. Meetings can still be added to the session after activation, but the session can no longer be hidden from users' view until it is full.
- *If the setting is enabled
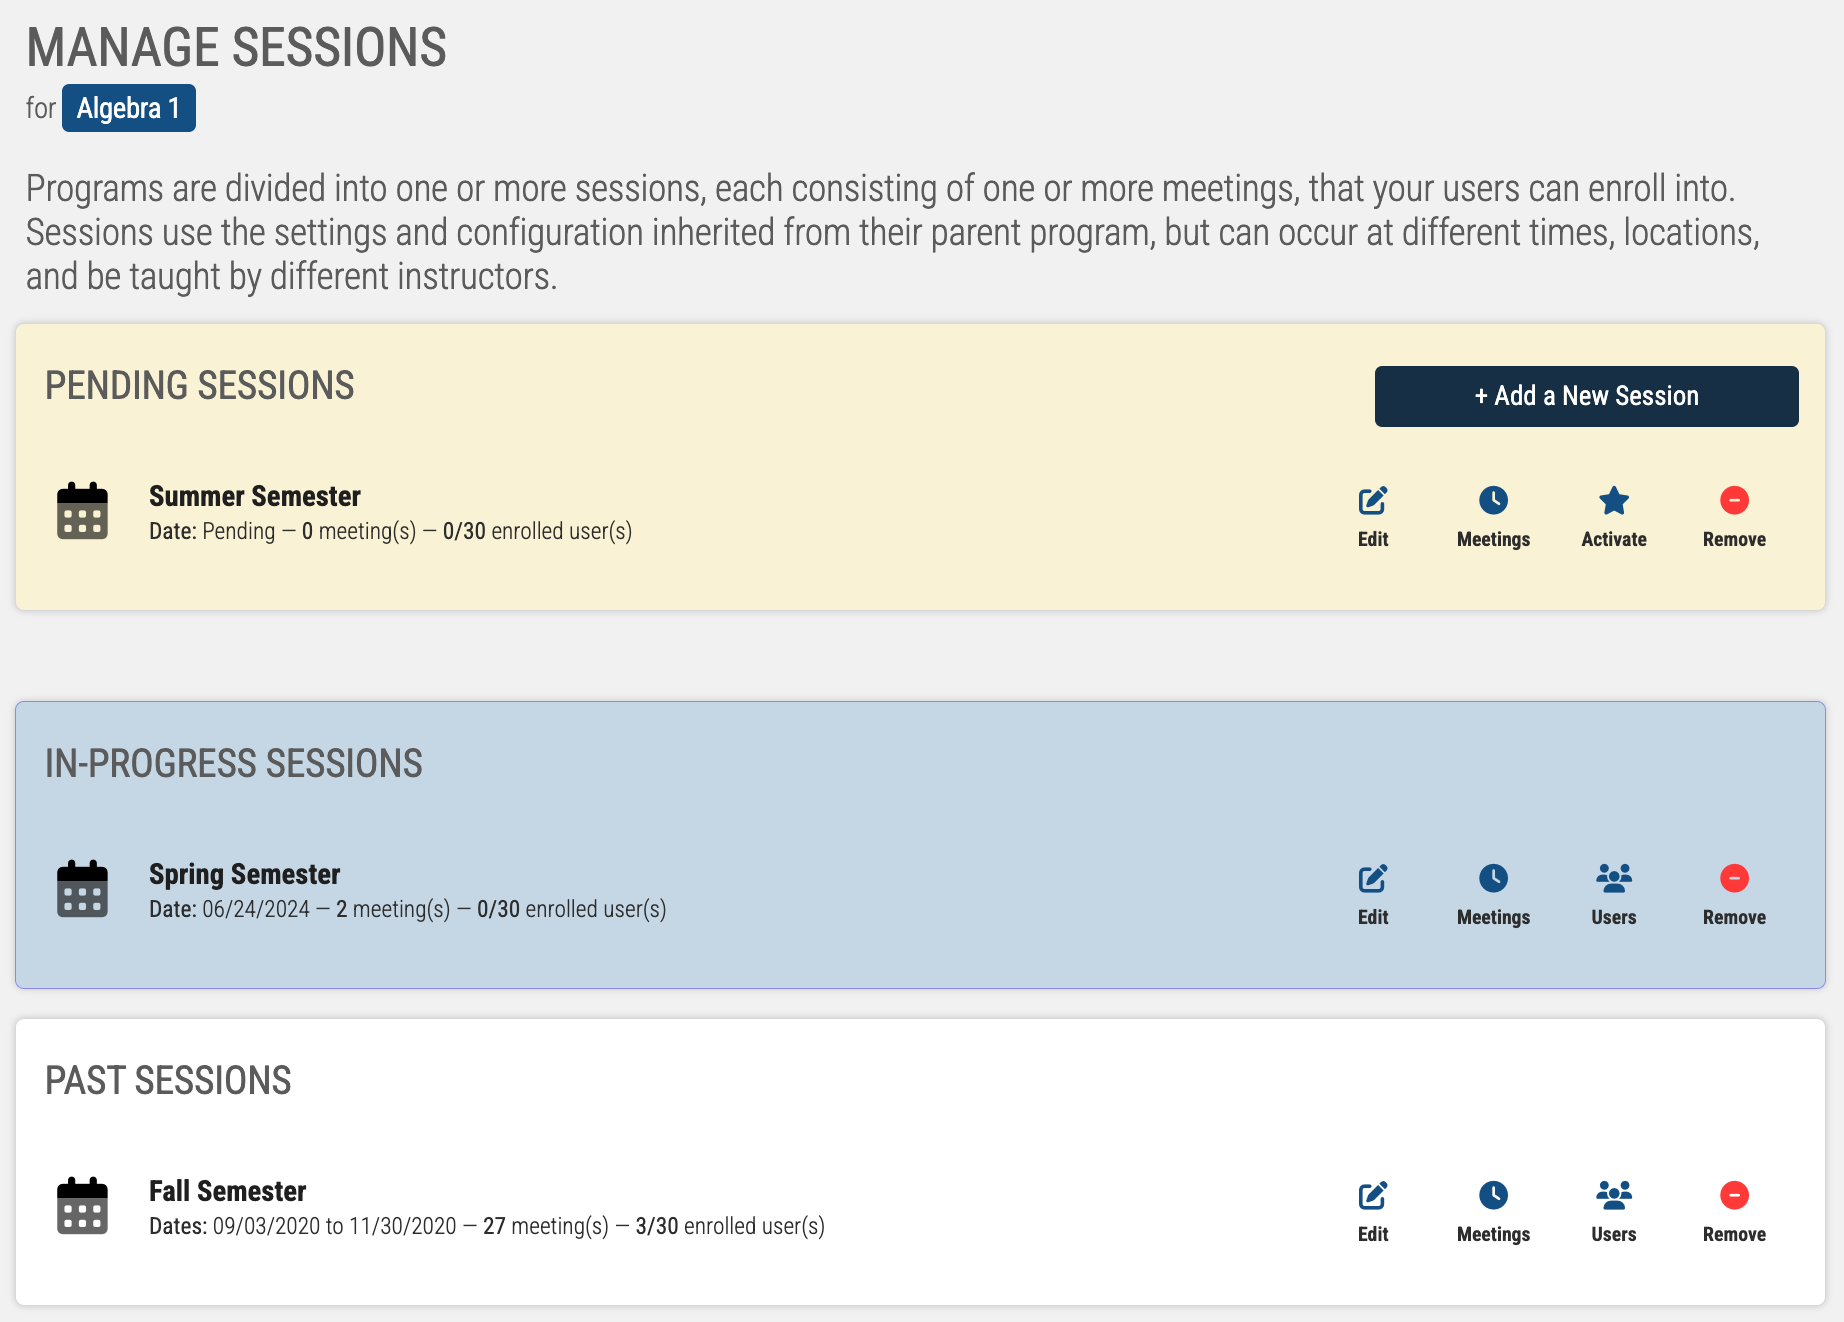
Now that your Session is activated and your first ILT program ready to go, you'll likely want to get some users in there; even if just for testing purposes. This can be done by clicking the "Users" button associated with one of the session, and manually enrolling your user into the Session. For a more seamless experience, you can also add a Live Training widget to your Learning Portal, allowing users to enroll themselves.
Program Dashboard
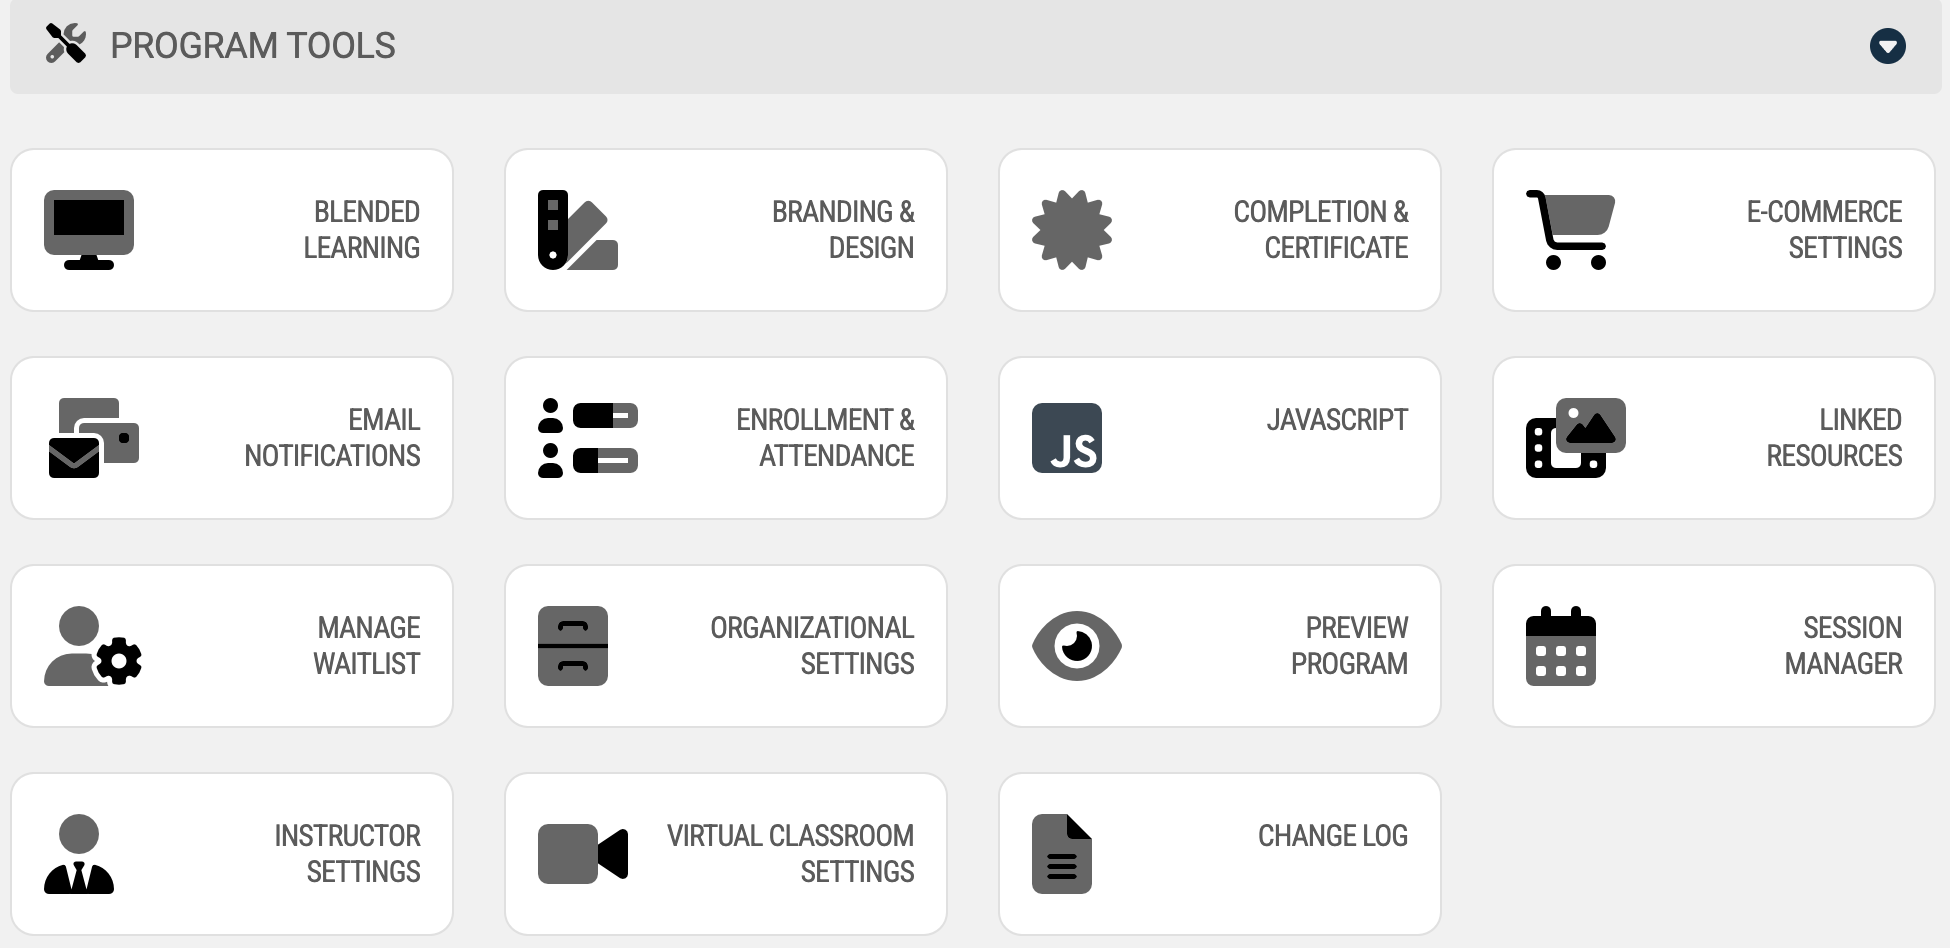
In addition to setting up sessions for your ILT Program, there's a wide array of different tools and settings you can apply to their Programs.
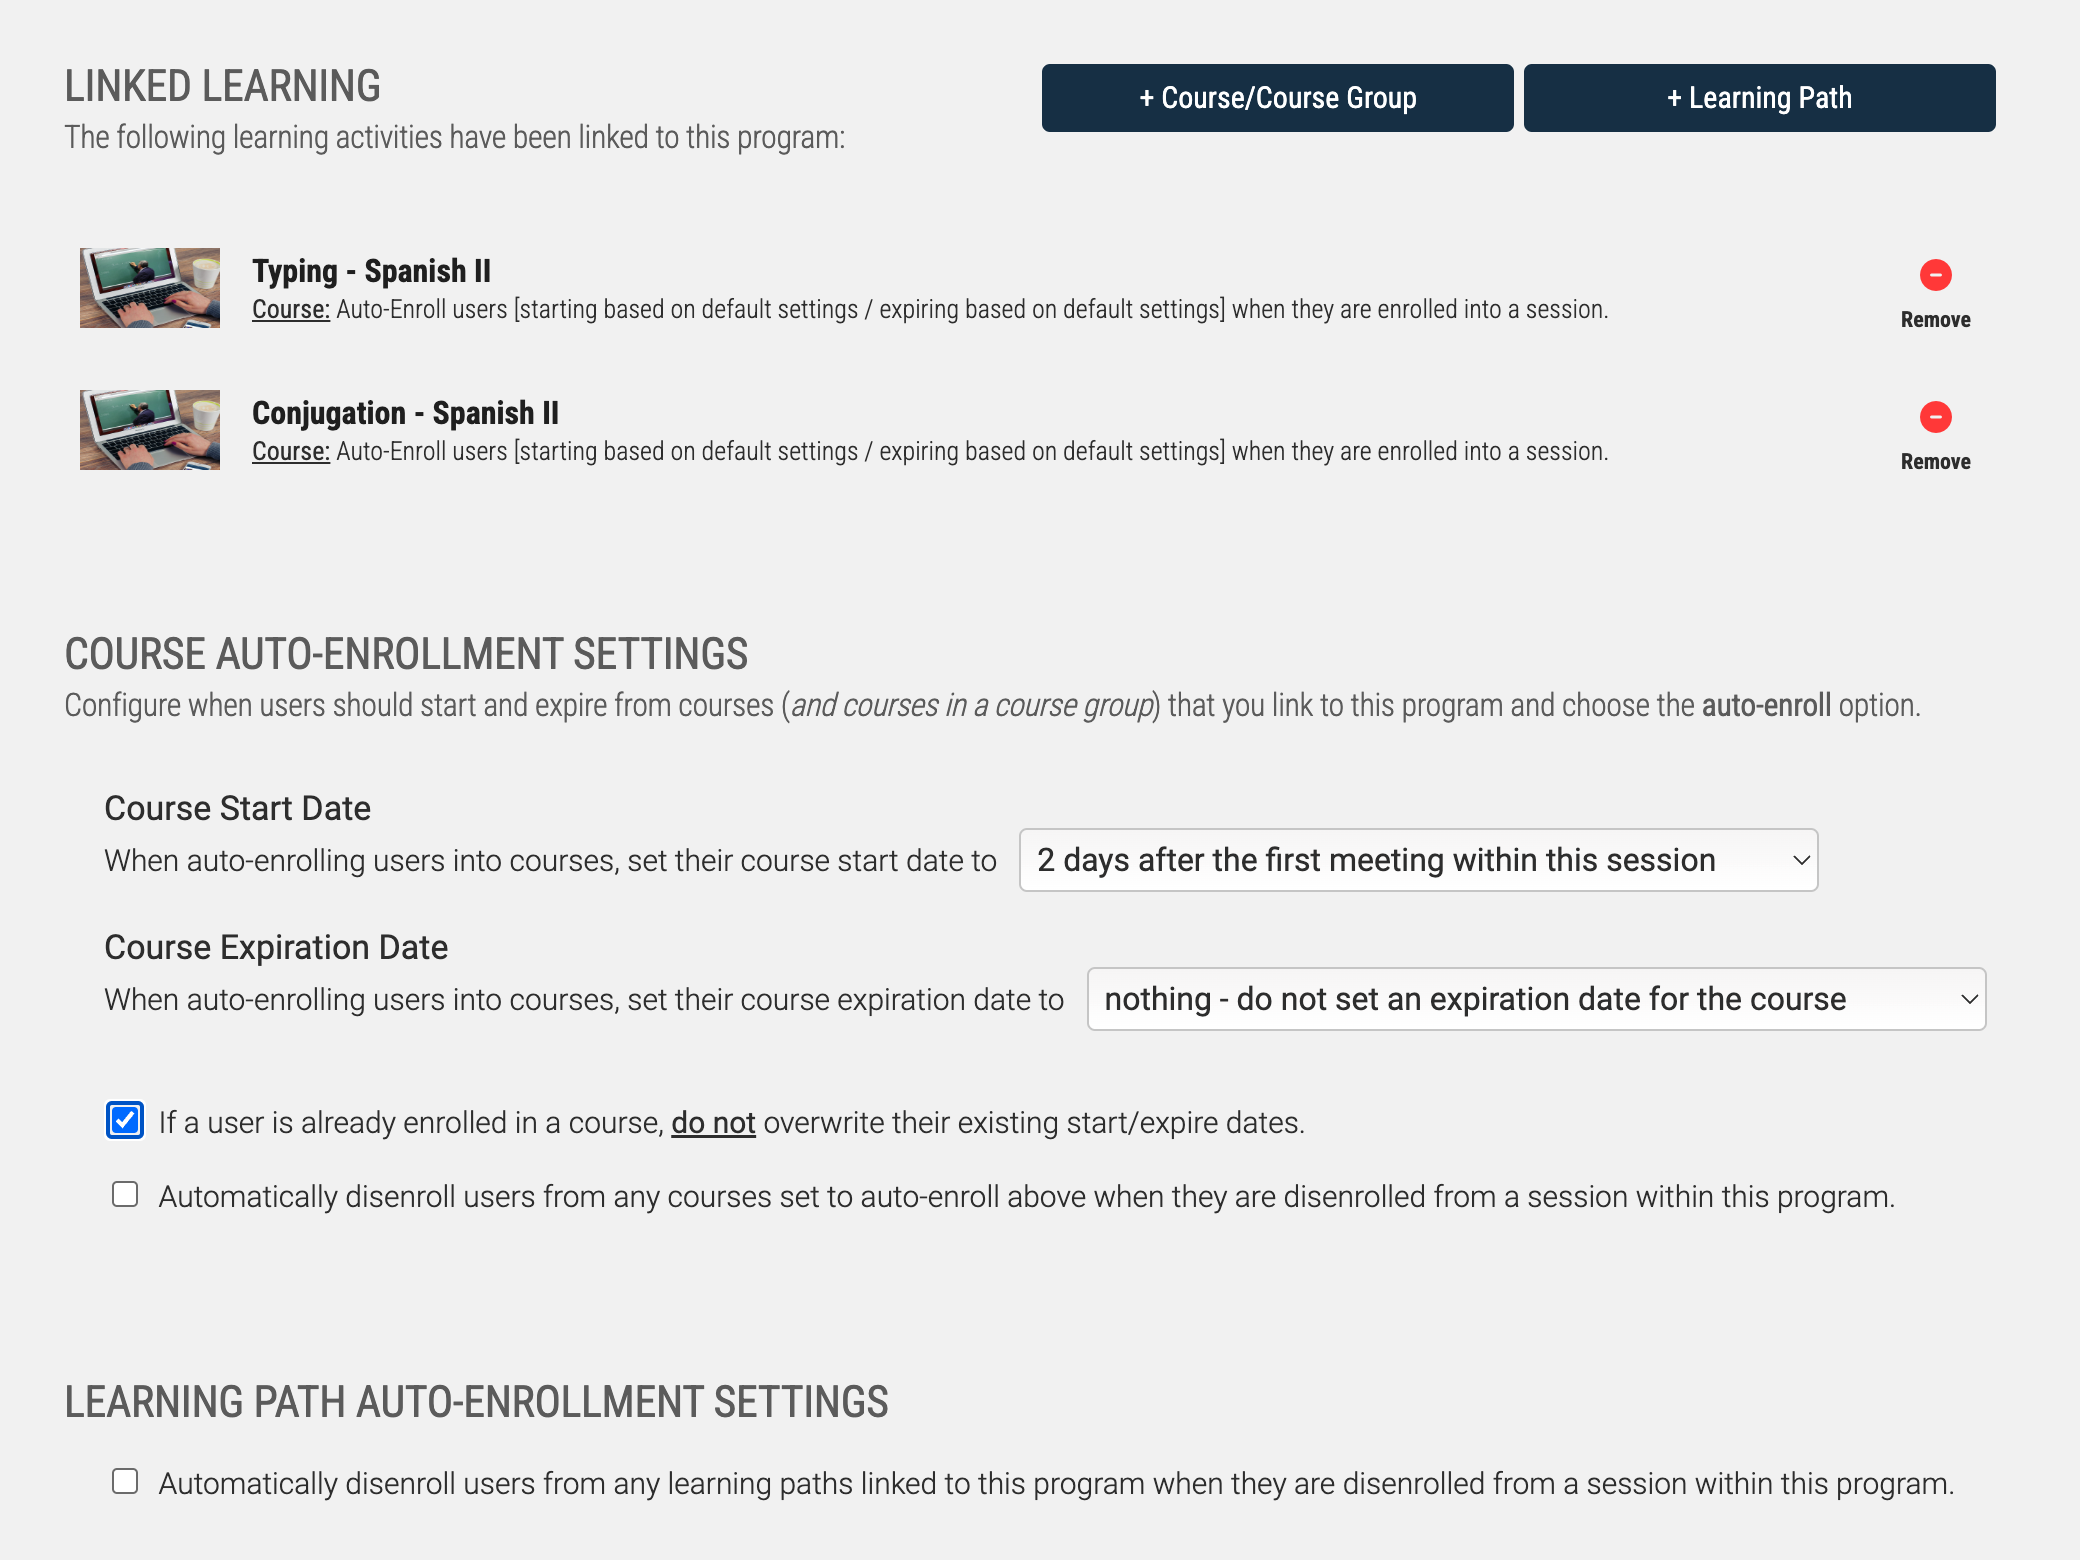
Blended Learning: When users sign up for a session within this program, they can be automatically enrolled into one or more of your Online Courses to compliment to Program. You can adjust users' course active dates based on their Session start and end dates; or so something custom.
Branding and Design: like most every UI element in the LMS, ILT Programs too can be customized. Unlike some other UI elements, ILT Programs are truly adaptive to the users' device and screen/browser size. Notable while filling this out is that you can set two different Program Descriptions: one for enrolled users, and another for non-enrolled users.
E-Commerce Settings: Determine if the Sessions are paid, or open enrollment; and how much each seat costs.
Email Notifications: Choose from a wide selection of different automated emails related to this Program. Event emails intelligently pivot depending on who is receiving the email: the admin, session instructor(s), enrolled user(s), waitlist user(s), or specific users. Here, you can create emails to send out to waitlist user(s) when a new Session is added; or reminder emails when a Meeting is about to begin.
Enrollment & Attendance: Set if and how users may switch between different Sessions within the Program, and if Managers can enroll/disenroll users into Sessions. Additionally, select from different options to determine how attendance is taken (automatically/Managers/Instructors).
Link Resources: Optionally attach different resources to this Program such as a syllabus, spreadsheets, and other document files.
Manage Waitlist: Decide if users can sign up for a waitlist for this Program, and if you want to send SMS alerts to users on the waitlist.
Organizational Settings: Update and set different keywords about this Program to affect sorting, and how it appears in different searches
Program Certificate: Set the Certificate attendance requirements, and the design of the Program Certificate (If it uses one at all).
Virtual Classroom Settings: Dictate how the Virtual Classroom Meetings will be operated, and if text chat is enabled.
Facilities and Instructors
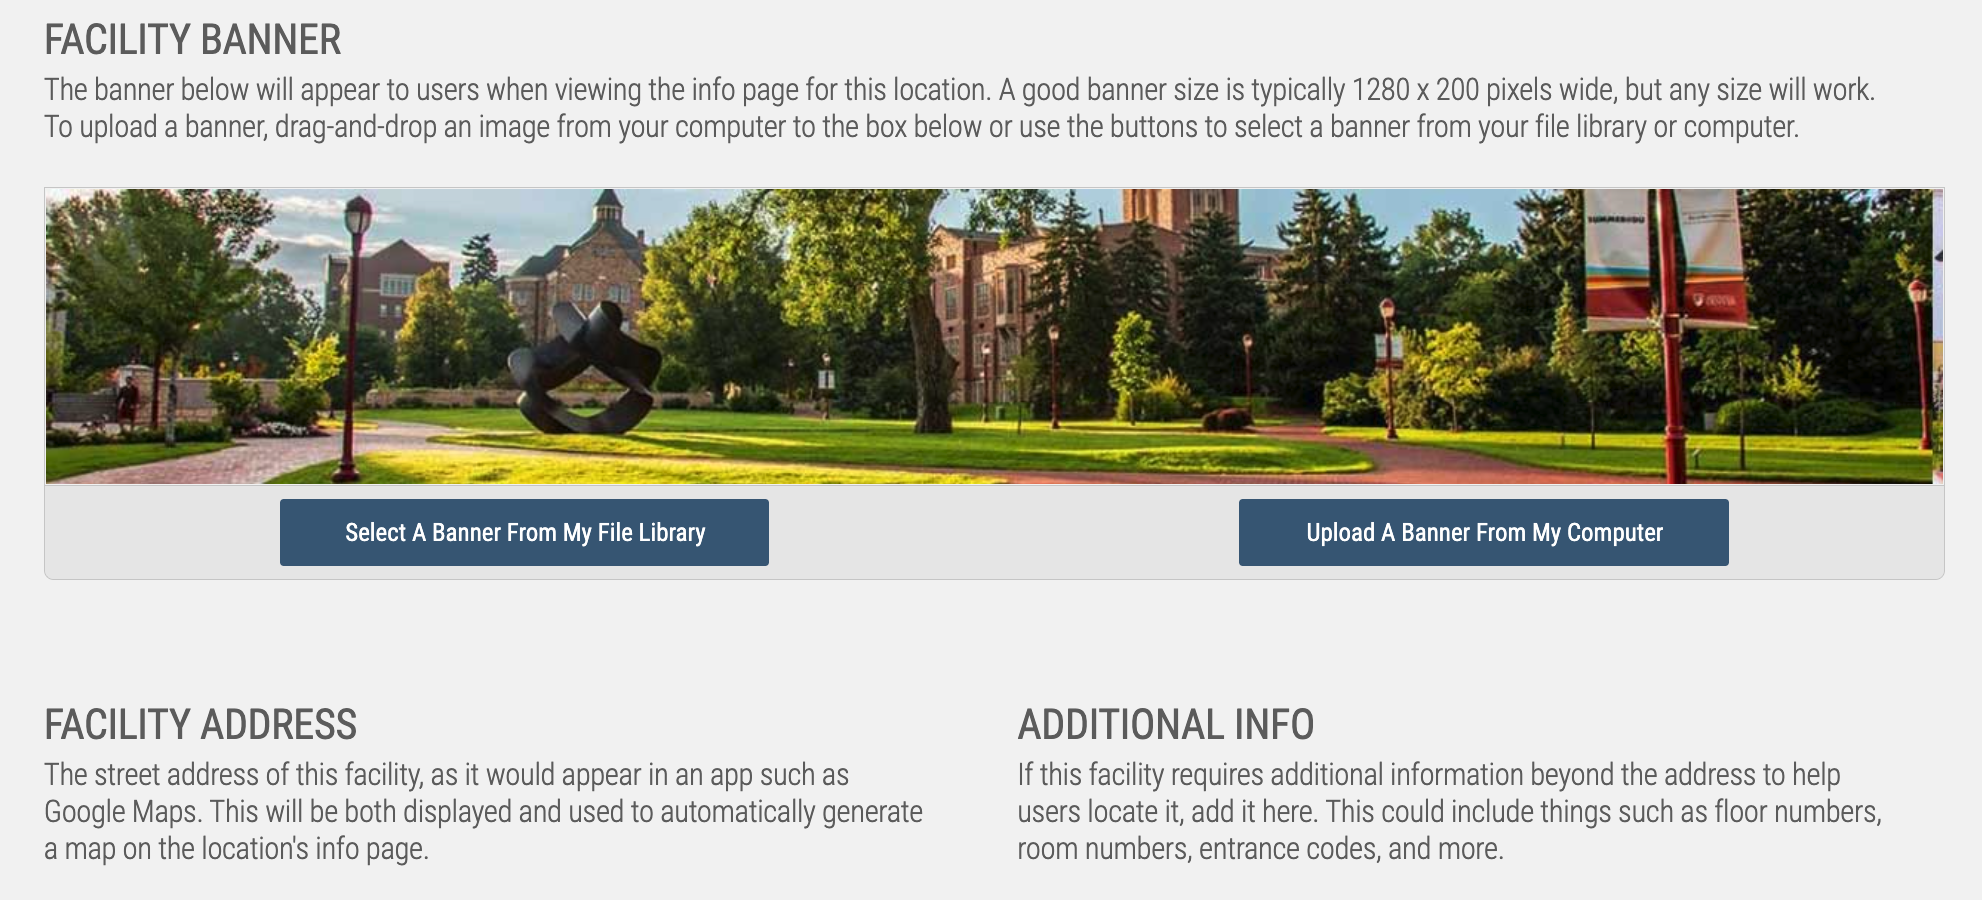
Facilities are locations used for your live training. If a Session has been created, and you've not created any Facilities, the Session will be held virtually. When creating Facilities, it can be especially helpful to use a detailed address, as its location will be automatically plotted to Google Maps, allowing users to find it in their GPS devices much easier. Additional information can be filled out on the Facility, such as open hours; and its user page can be branded to reflect the location they're about to walk into with a banner - but the most important item will almost always be the physical address.
Once your Facility is created inside the ILT area, you'll be able to select it as a Meeting location when scheduling Sessions.
Similar to how Managers gain special tools inside the LMS, Instructors are also created from active users. To assign a user the Instructor role, add an instructor from the Instructor area of the ILT interface. Now, just start typing out the name of one of your users you'd like to assign the role to.
It is really that easy - once you've selected the user, you'll be able to fill out two different bios for them: one short and one long. The brief will appear at a glance to users, but when selected, the verbose one will be used.
Instructors do not have a separate login when hosting Meetings - it's all facilitated through the same ILT widget. Axis LMS will be able to identify whether or not a user is an Instructor for a Meeting, and give them special permissions based on that. These permissions only extend to the classes this user in an Instructor for - so the user can still be just a user for other Programs.

User Experience
From a user perspective, once a Program is opened from the ILT widget, the entire ILT experience is consolidated into its own UI. From this environment, users can scan Programs they’re already enrolled in for more information on Meetings, Sessions availability, instructor bios, and where/how the Meetings are being held.
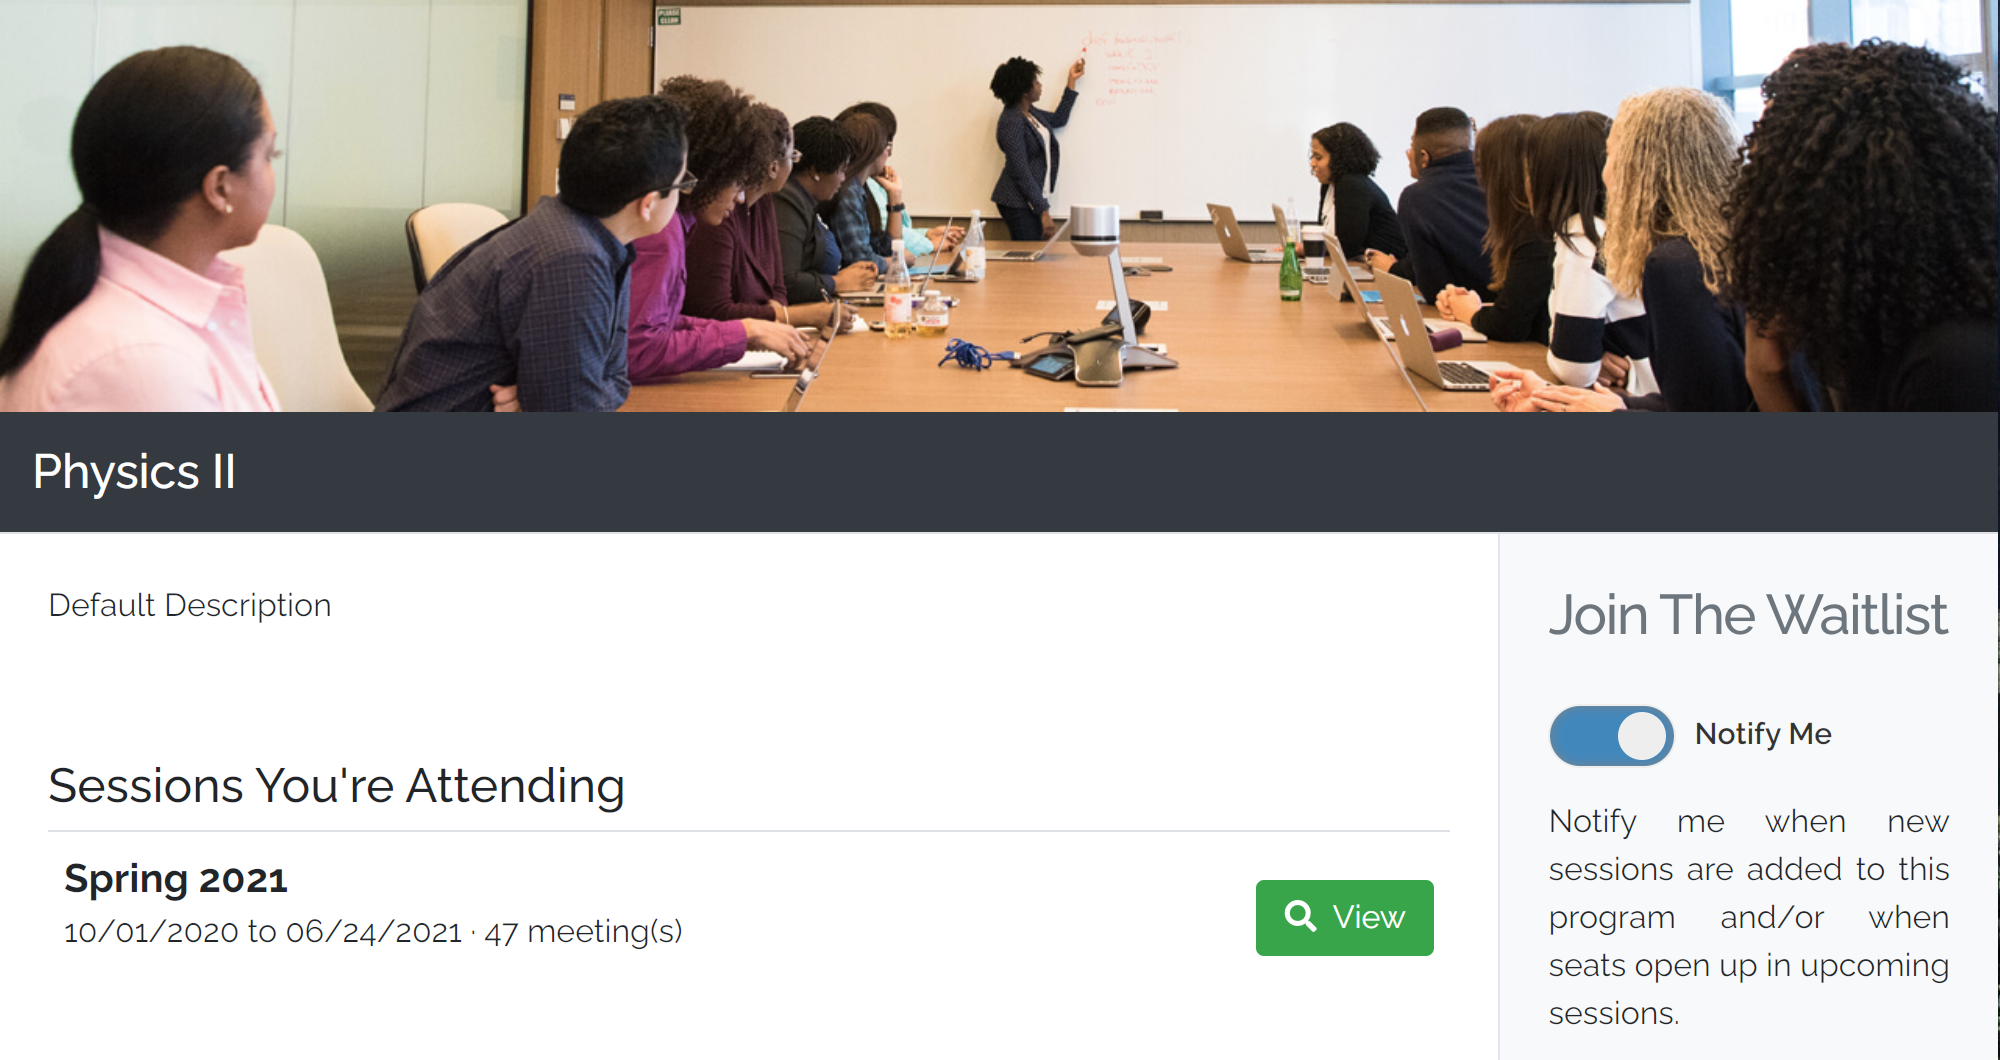
On the side of the ILT interface, users can toggle to opt-in for new Session availability - so even if the current Sessions are full, or don’t align with their schedule - they can be quick to join new availabilities.
When viewing a Session the user is enrolled into, the Session will display any Instructors assigned to the it.
Just below the instructors, the location(s) of the Sessions will be broken down.
Towards the top of the page, users will be able to quickly find when their next meeting is due to begin - both date and time; and further down users can see a schedule of all their meetings. If an online meeting is within several minutes of beginning, the next Meeting’s launch button will be selectable so users can join in.