Integrate Axis LMS with External Forms

For organizations with open user enrollment, filtering would-be users via external forms is a great tactic; and using the Integration Builder makes building that integration easy.
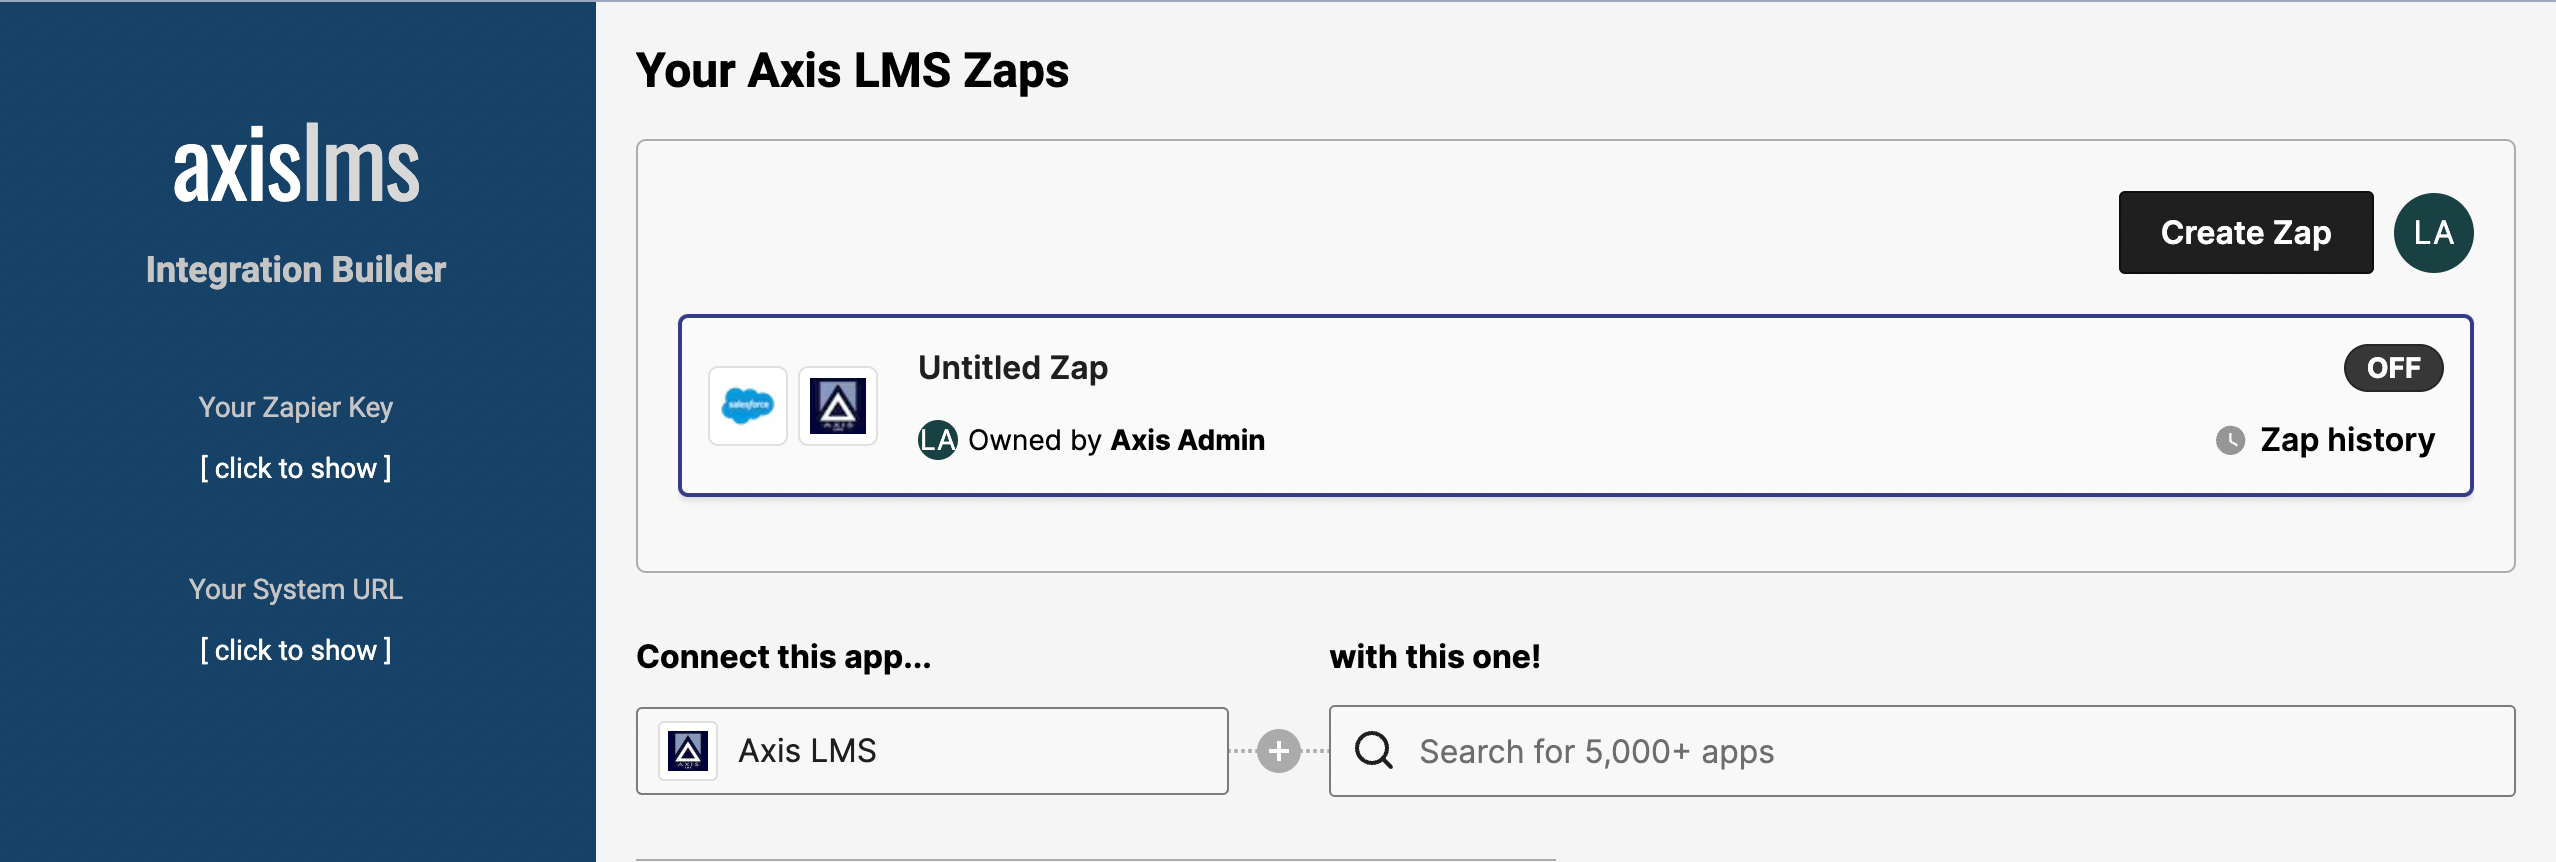
Axis LMS Integration Builder
System > Integrations > Applications > Integration Builder
After opening the Integration Builder, a list of all your existing integrations will be listed. If you have no integrations yet, click the Create Zap button to create your first.
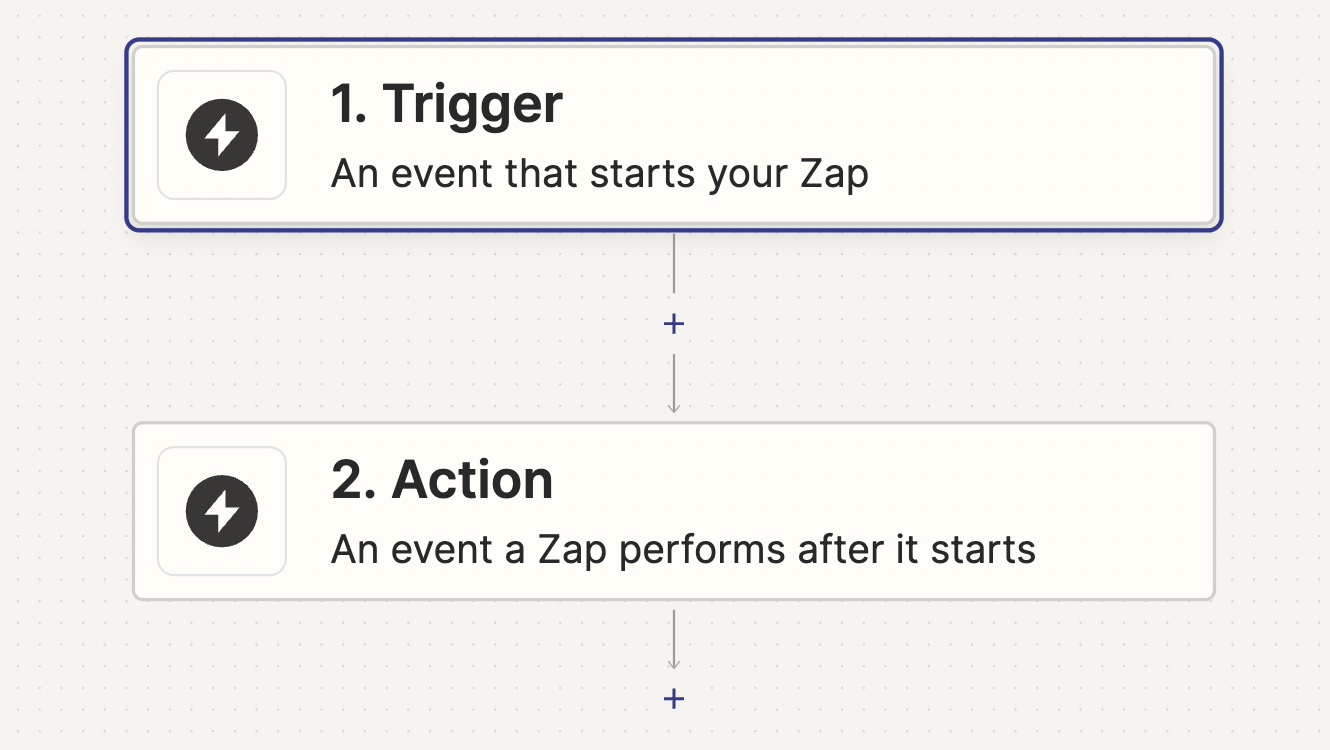
Every integration has minimally two components: a Trigger and an Action. The Trigger is where your Integration begins; the Action is one of, or the entirety of, the conclusion of events.
* If this is your first experience in the Integration Builder on this device, you will instead be prompted to Sign In or Sign Up for the integration service: Zapier.
Survey Trigger
With most Form and Survey services, your platform will typically be used as the Trigger; while each service will have slight variations, you're usually looking for some variety of "form is completed".
Begin by clicking on the Trigger tile, then search for your form service - for this example we will be using Google Forms.
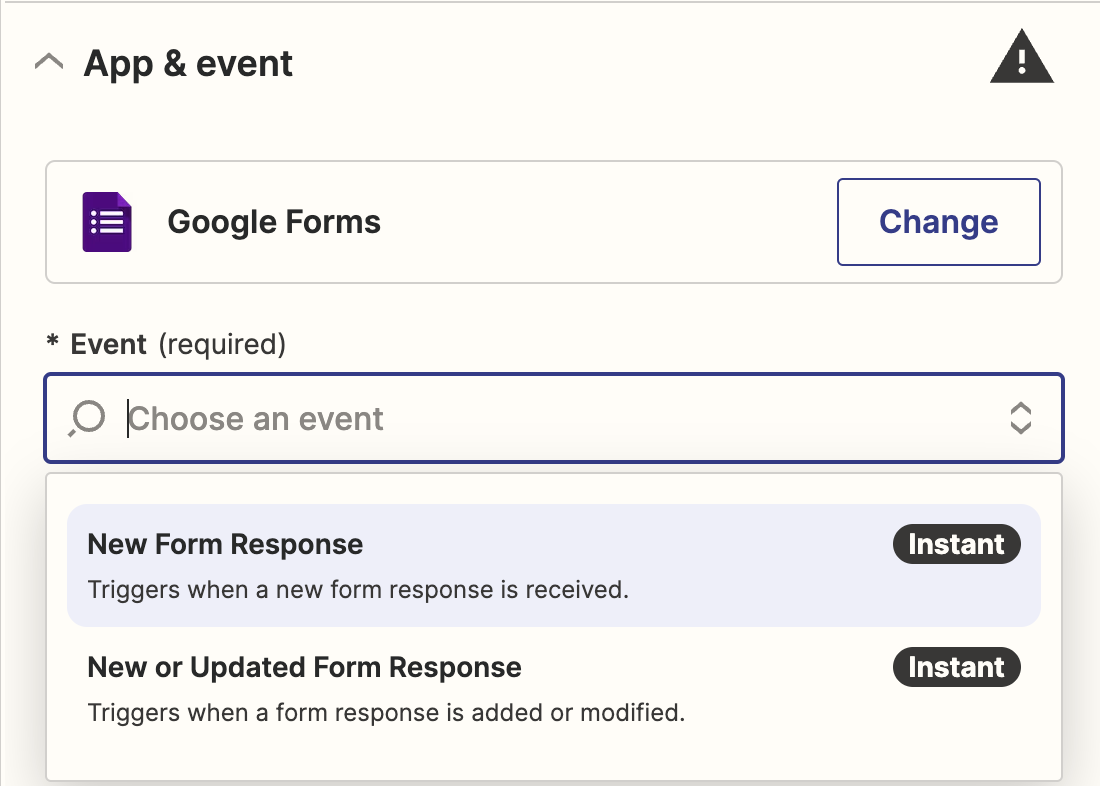
Now select the Event: New Form Response; and click Continue. You will now be prompted to sign into your Google Forms Account. After successfully connecting to Google Forms, you will be prompted to run a test to confirm the account can be successfully reached. The events available will vary depending on the form service selected. After connecting to a service, you will not need to provide credentials in the future.
LMS Action
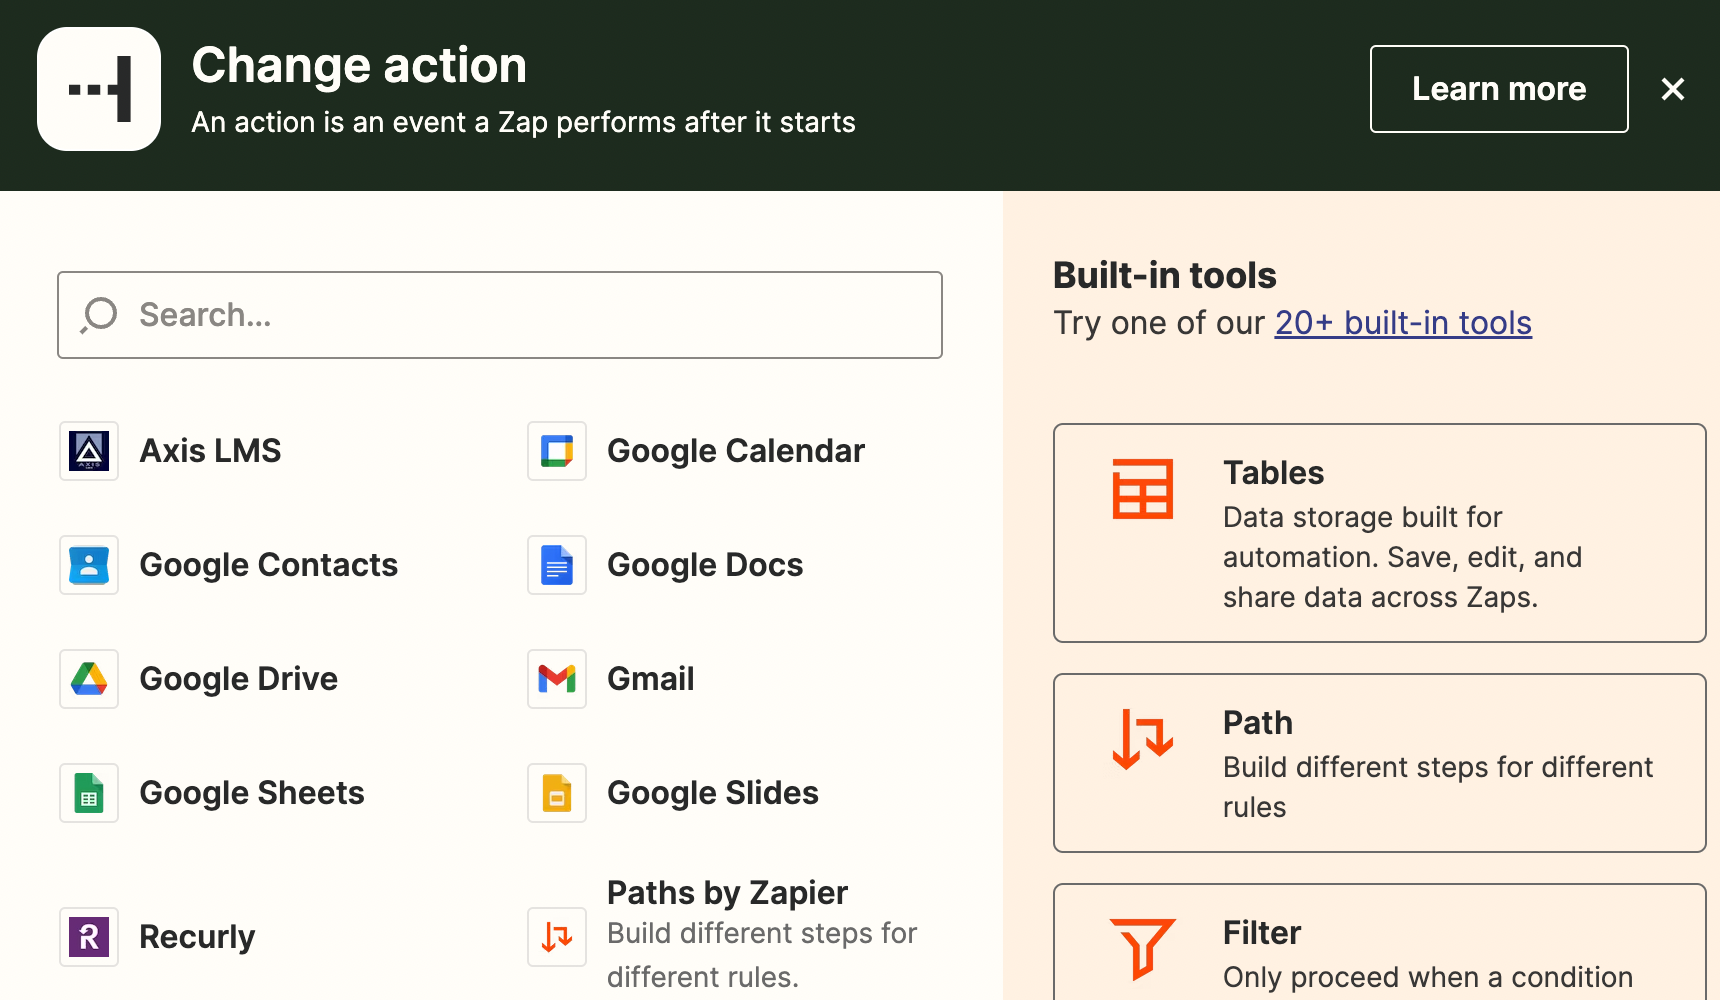
Continuing the Updating User Scenario, the next step is to select the Action Tile, then search for Axis LMS.
Now select the LMS Event: Add User to LMS; and click Continue. You'll be prompted to connect your Axis LMS account - the required information is available on the left side of the Integration Builder. Once more, you'll be prompted to run a test to confirm the connection was successful.
After a successful test, you'll have the opportunity to refine the Action. For this Action, the only requirement is to populate the username; you can optionally populate a majority of the user's profile fields and custom fields. The new user information can be populated by referencing the New Form Response in Google Forms Trigger from earlier.
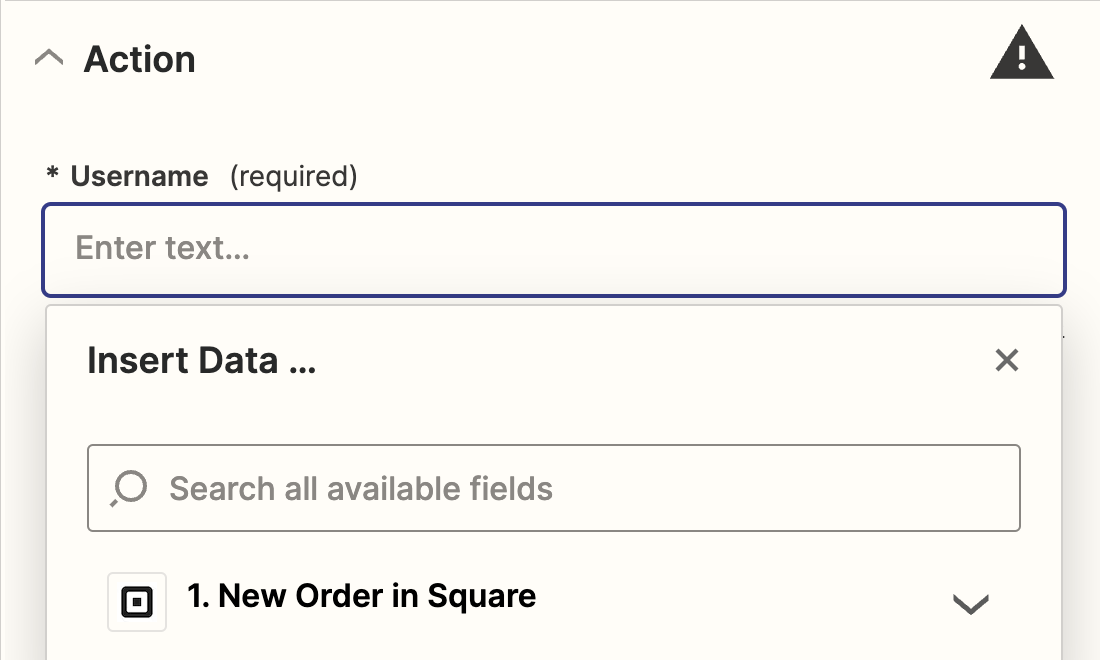
In fact, any fields collected from the Trigger event can be referenced in the LMS Event; so you can quickly populate any of the LMS User Fields with data collected from the Triggering Events.
After filling out the necessary fields, click Continue.
Publishing the Integration
After setting up both the Trigger and the Action, the Integration can be saved by using the Publish button in the top right of the page. Before publishing, considering renaming your integration so you can easily identify the intention of the integration, without having to open the editor and analyze each step.
You can continue to expand on the Integration, and perform additional Events by clicking the addition symbol after your most recent Event, if desired; but publishing here will create a successful integration with your Forms or Survey Service.