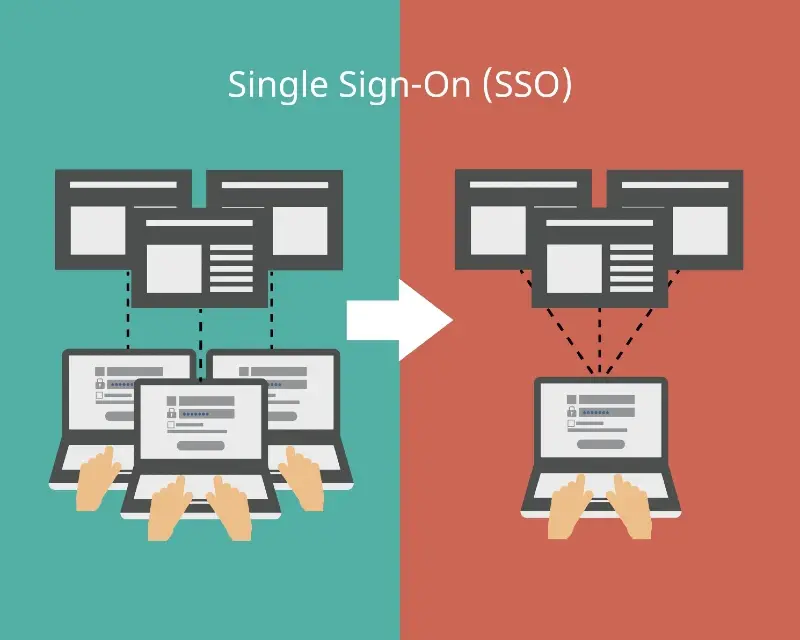
Configure a SAML v2.0 Provider
Axis LMS is designed to work with most SAML v2.0 Identity Providers. However, since every identity provider (IdP) is different we can outline the broad steps to integrate Axis LMS with a third-party IdP. Using these steps, along with the IdP’s documentation, should enable you to configure the integration.
Step One: Begin Adding The Integration In Axis LMS
- While signed in to Axis LMS as an administrator, go to System > Integration > Single Sign-On (SSO) > SAML Sign-In
- Click the + Add An Integration button.
- Select Other SAML v2.0 Integration from the list of SAML Identity provider.
- Keep this screen/tab open for now as we will refer to it later.
Step Two: Add Identity Provider Details To Axis LMS
In this step, you'll provide Axis LMS with the SAML Identity provider values it needs to communicate with with your IdP.
Copy values from the IdP and paste them into the Identity Provider Details section of Axis LMS — Entity ID / Issuer URL, SAML 2.0 Endpoint / SSO URL, and X.509 Certificate are all required.
Not all IdP's support SLO Endpoint / Logout URL - if your IdP does not have a Single Logout option you can leave this blank. Futhermore, if you wish for users to only be signed out of the LMS and not your IdP when they logout, you can leave this field blank.
Step Three: Add Service Provider Details To The IdP
In this step, we’ll define the service provider values that the IdP will need to identify Axis LMS.
- On the Add A New Integration screen in Axis LMS, go to the Service Provider Details section.
- Copy the values from Axis LMS into the appropriate location in your IdP settings.
Step Four: Defining User Attributes
In this step, we’ll define the information about the user (id, email address, first name, last name) that need to be passed to Axis LMS.
Minimally the LMS requires that uuid and emailAddress be passed as attributes, however it is recommended to pass all four values listed below if possible.
| Field | to | Value |
|---|---|---|
| uuid | to | Unique User ID |
| emailAddress | to | |
| firstName | to | First Name |
| lastName | to | Last Name |
Note: Even though the IdP may provide additional user data that can be passed as parameters, only the paramters listed above are compatible with Axis LMS; all other values will be ignored.
In Axis LMS, on the Add A New Integration screen, finish configuring the User Login settings and then click Save to save the integration in Axis LMS.
You haven ow completed the basic steps needed to configure Axis LMS in your IdP. Please refer to your IdP's documentation for any additional steps you may need to undertake in order to complete and enable the integration.