Integrate Axis LMS with Mailing Lists

Use the Integration Builder to create mailing lists, to help stay connected to your new Axis LMS users.
Axis LMS Integration Builder
System > Integrations, SSO & API > Applications > Integration Builder
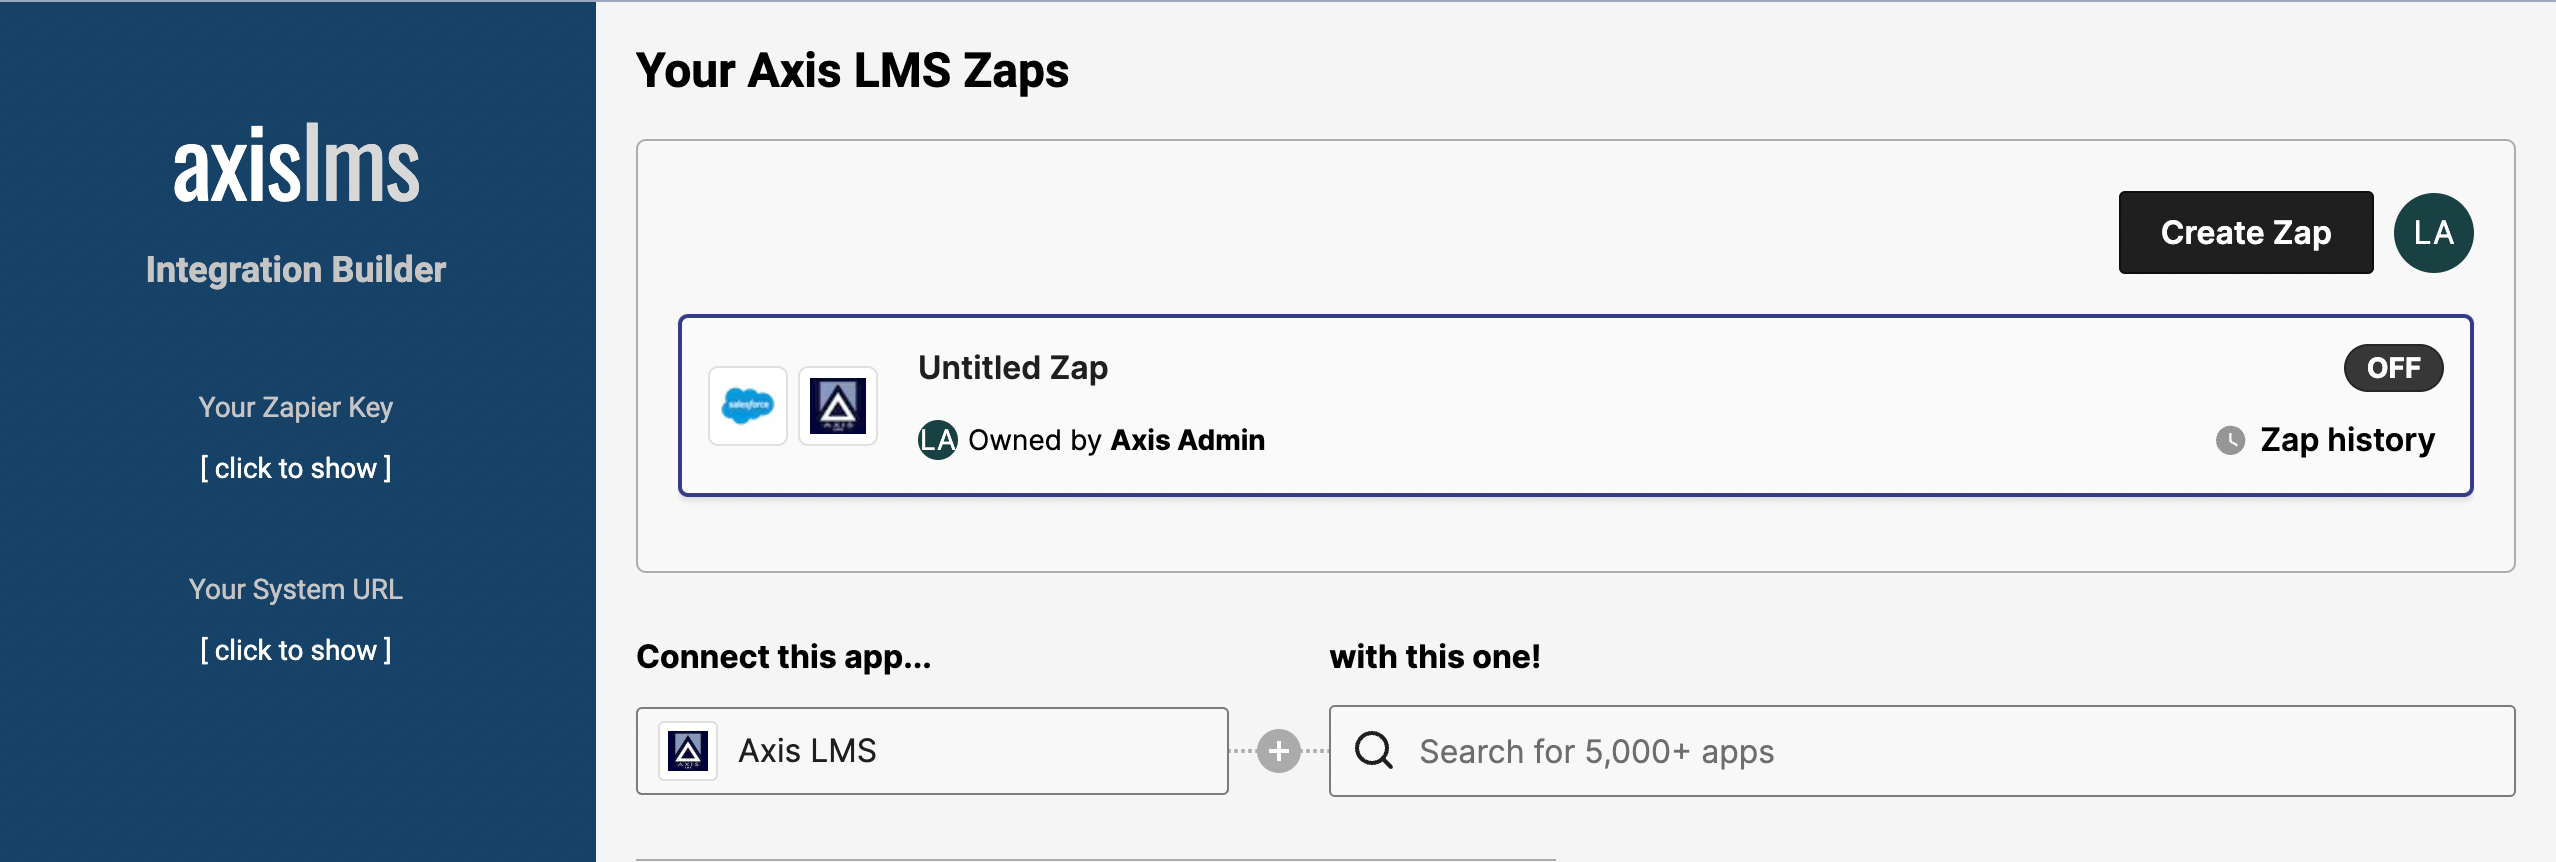
After opening the Integration Builder, a list of all your existing integrations will be listed. If you have no integrations yet, click the Create Zap button to create your first.
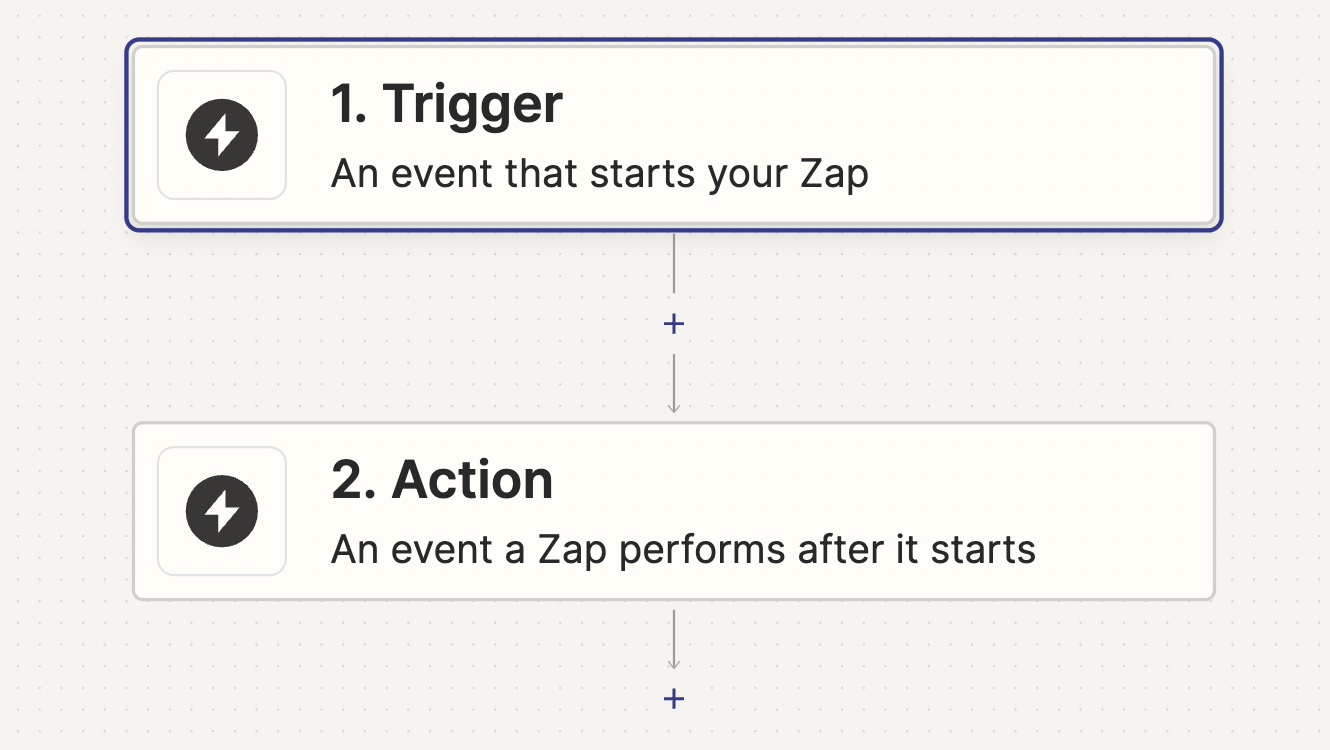
Every integration has minimally two components: a Trigger and an Action. The Trigger is where your Integration begins; the Action is one of, or the entirety of, the conclusion of events.
* If this is your first experience in the Integration Builder on this device, you will instead be prompted to Sign In or Sign Up for the integration service: Zapier.
Axis LMS Trigger
With the goal of getting LMS users into your mailing list, Axis LMS will act as your Trigger; while Axis LMS provides different trigger Events, for this example, we'll check for a New User.
Begin by clicking on the Trigger tile, then search for Axis LMS.
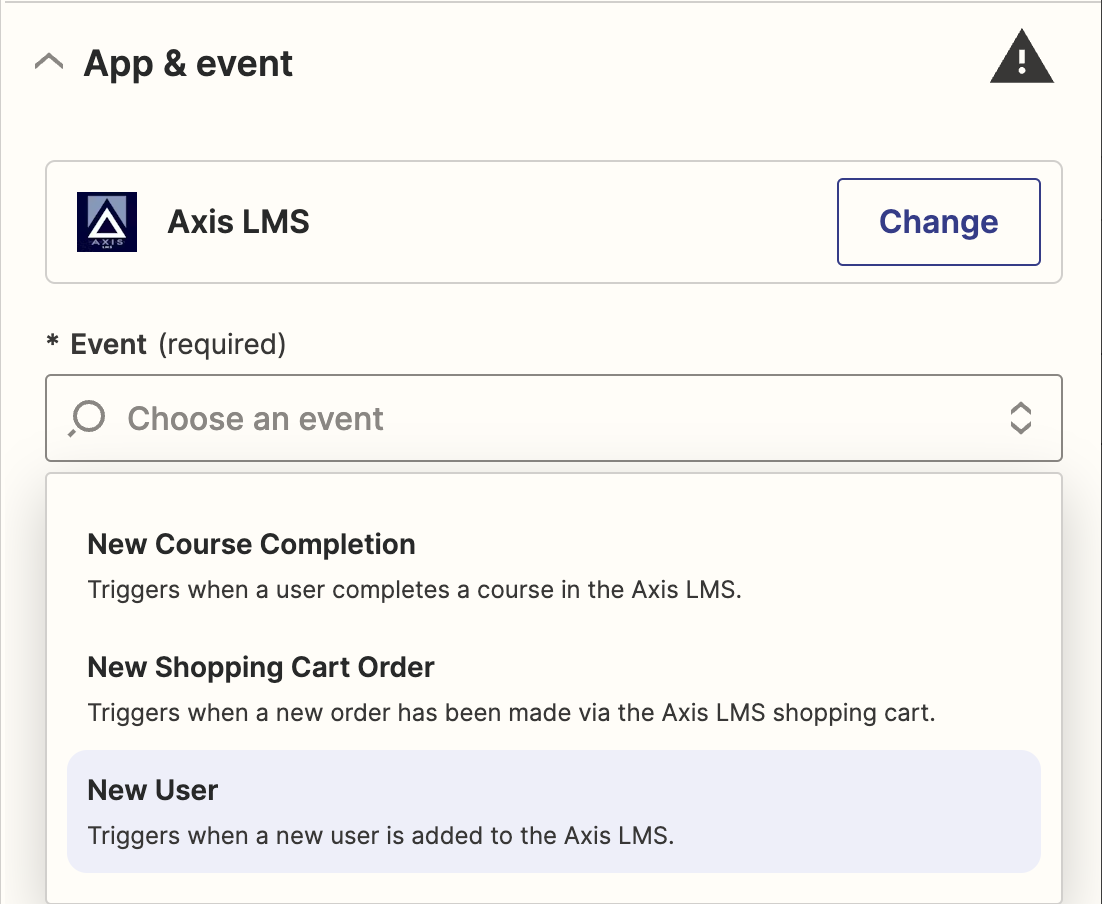


Now select the Event: New User; and click Continue. You'll be prompted to connect your Axis LMS account - the required information is available on the left side of the Integration Builder. After successfully connecting to your account, you will be prompted to run a test to confirm the account can be successfully reached.
LMS Action
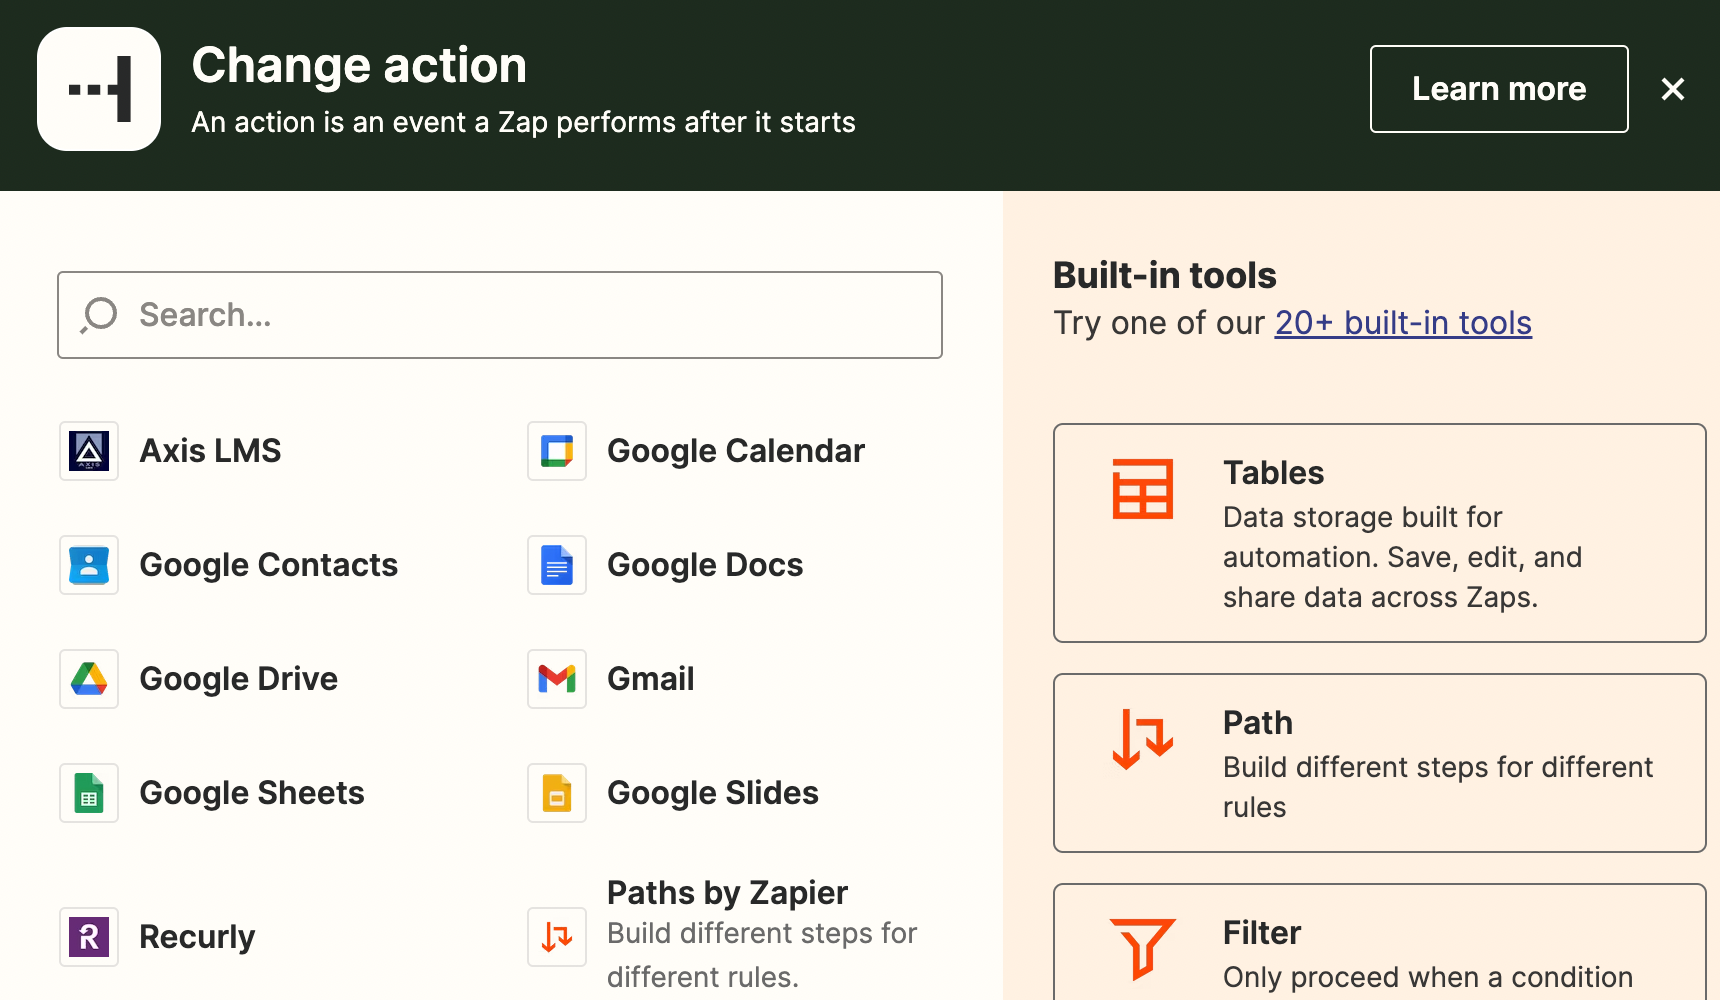
Continuing the Updating User Scenario, the next step is to select the Action Tile, then search for your mailing server; for this example, we'll use Mail Chimp.
Now select the MailChimp Event: Add/Update Subscriber; and click Continue. You'll be prompted to connect your Mailchimp account. Once more, you'll be prompted to run a test to confirm the connection was successful. After connecting to a service, you will not need to provide credentials in the future.
After a successful test, you'll have the opportunity to refine the Action. For this Action, select from your existing MailChimp Lists, and populate the Subscriber Email with the Axis LMS User Data Email.
You can optionally fill out additional Event prompts; but only the List and Subscriber Email are required.
After filling out the necessary fields, click Continue.
Publishing the Integration
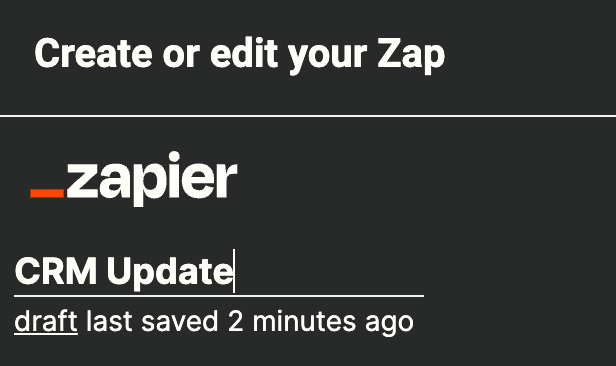
After setting up both the Trigger and the Action, the Integration can be saved by using the Publish button in the top right of the page. Before publishing, considering renaming your integration so you can easily identify the intention of the integration, without having to open the editor and analyze each step.
You can continue to expand on the Integration, and perform additional Events by clicking the addition symbol after your most recent Event, if desired; but publishing here will create a successful integration with your Mailing List service.