Axis LMS Integration Builder
Axis LMS includes various tools to enable integration. It's easy to integrate Axis LMS with your existing HR, CRM, Accounting, AMS, Shopping Cart and other systems. Axis LMS can be integrated with over 5,000 systems using the build-in Integration Builder - powered by Zapier.
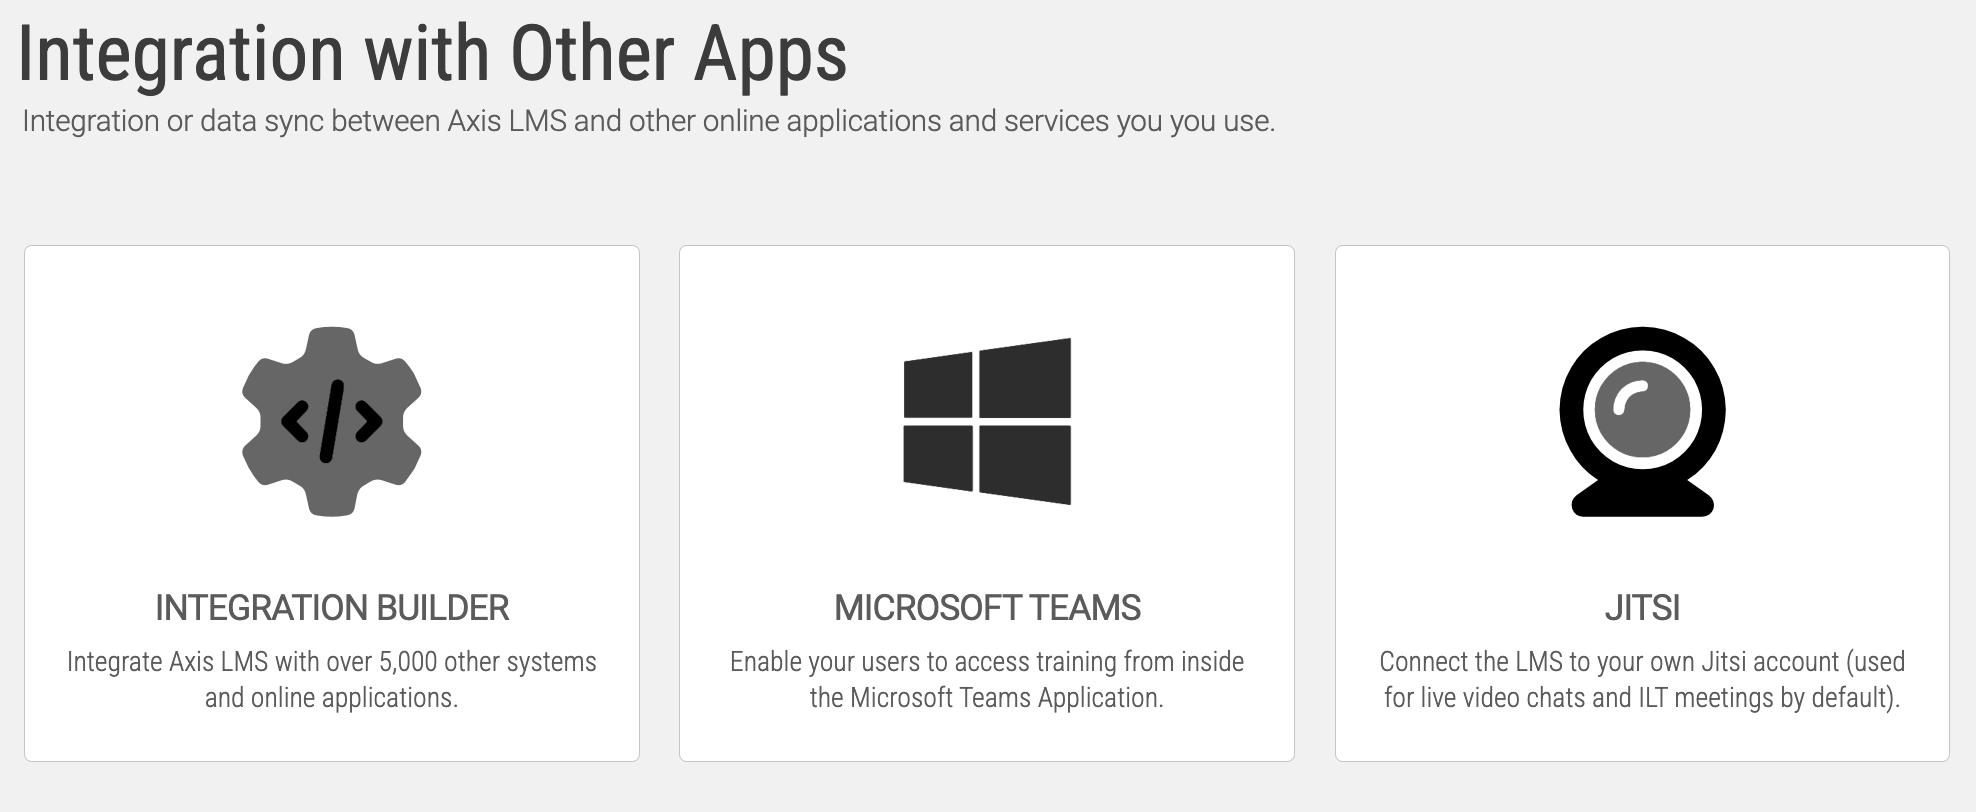
To start creating your own integrations, head to the Integration Builder area of your System here:
System > Integrations > Applications > Integration Builder
From here, you can open the Integration Builder and build your own integrations.
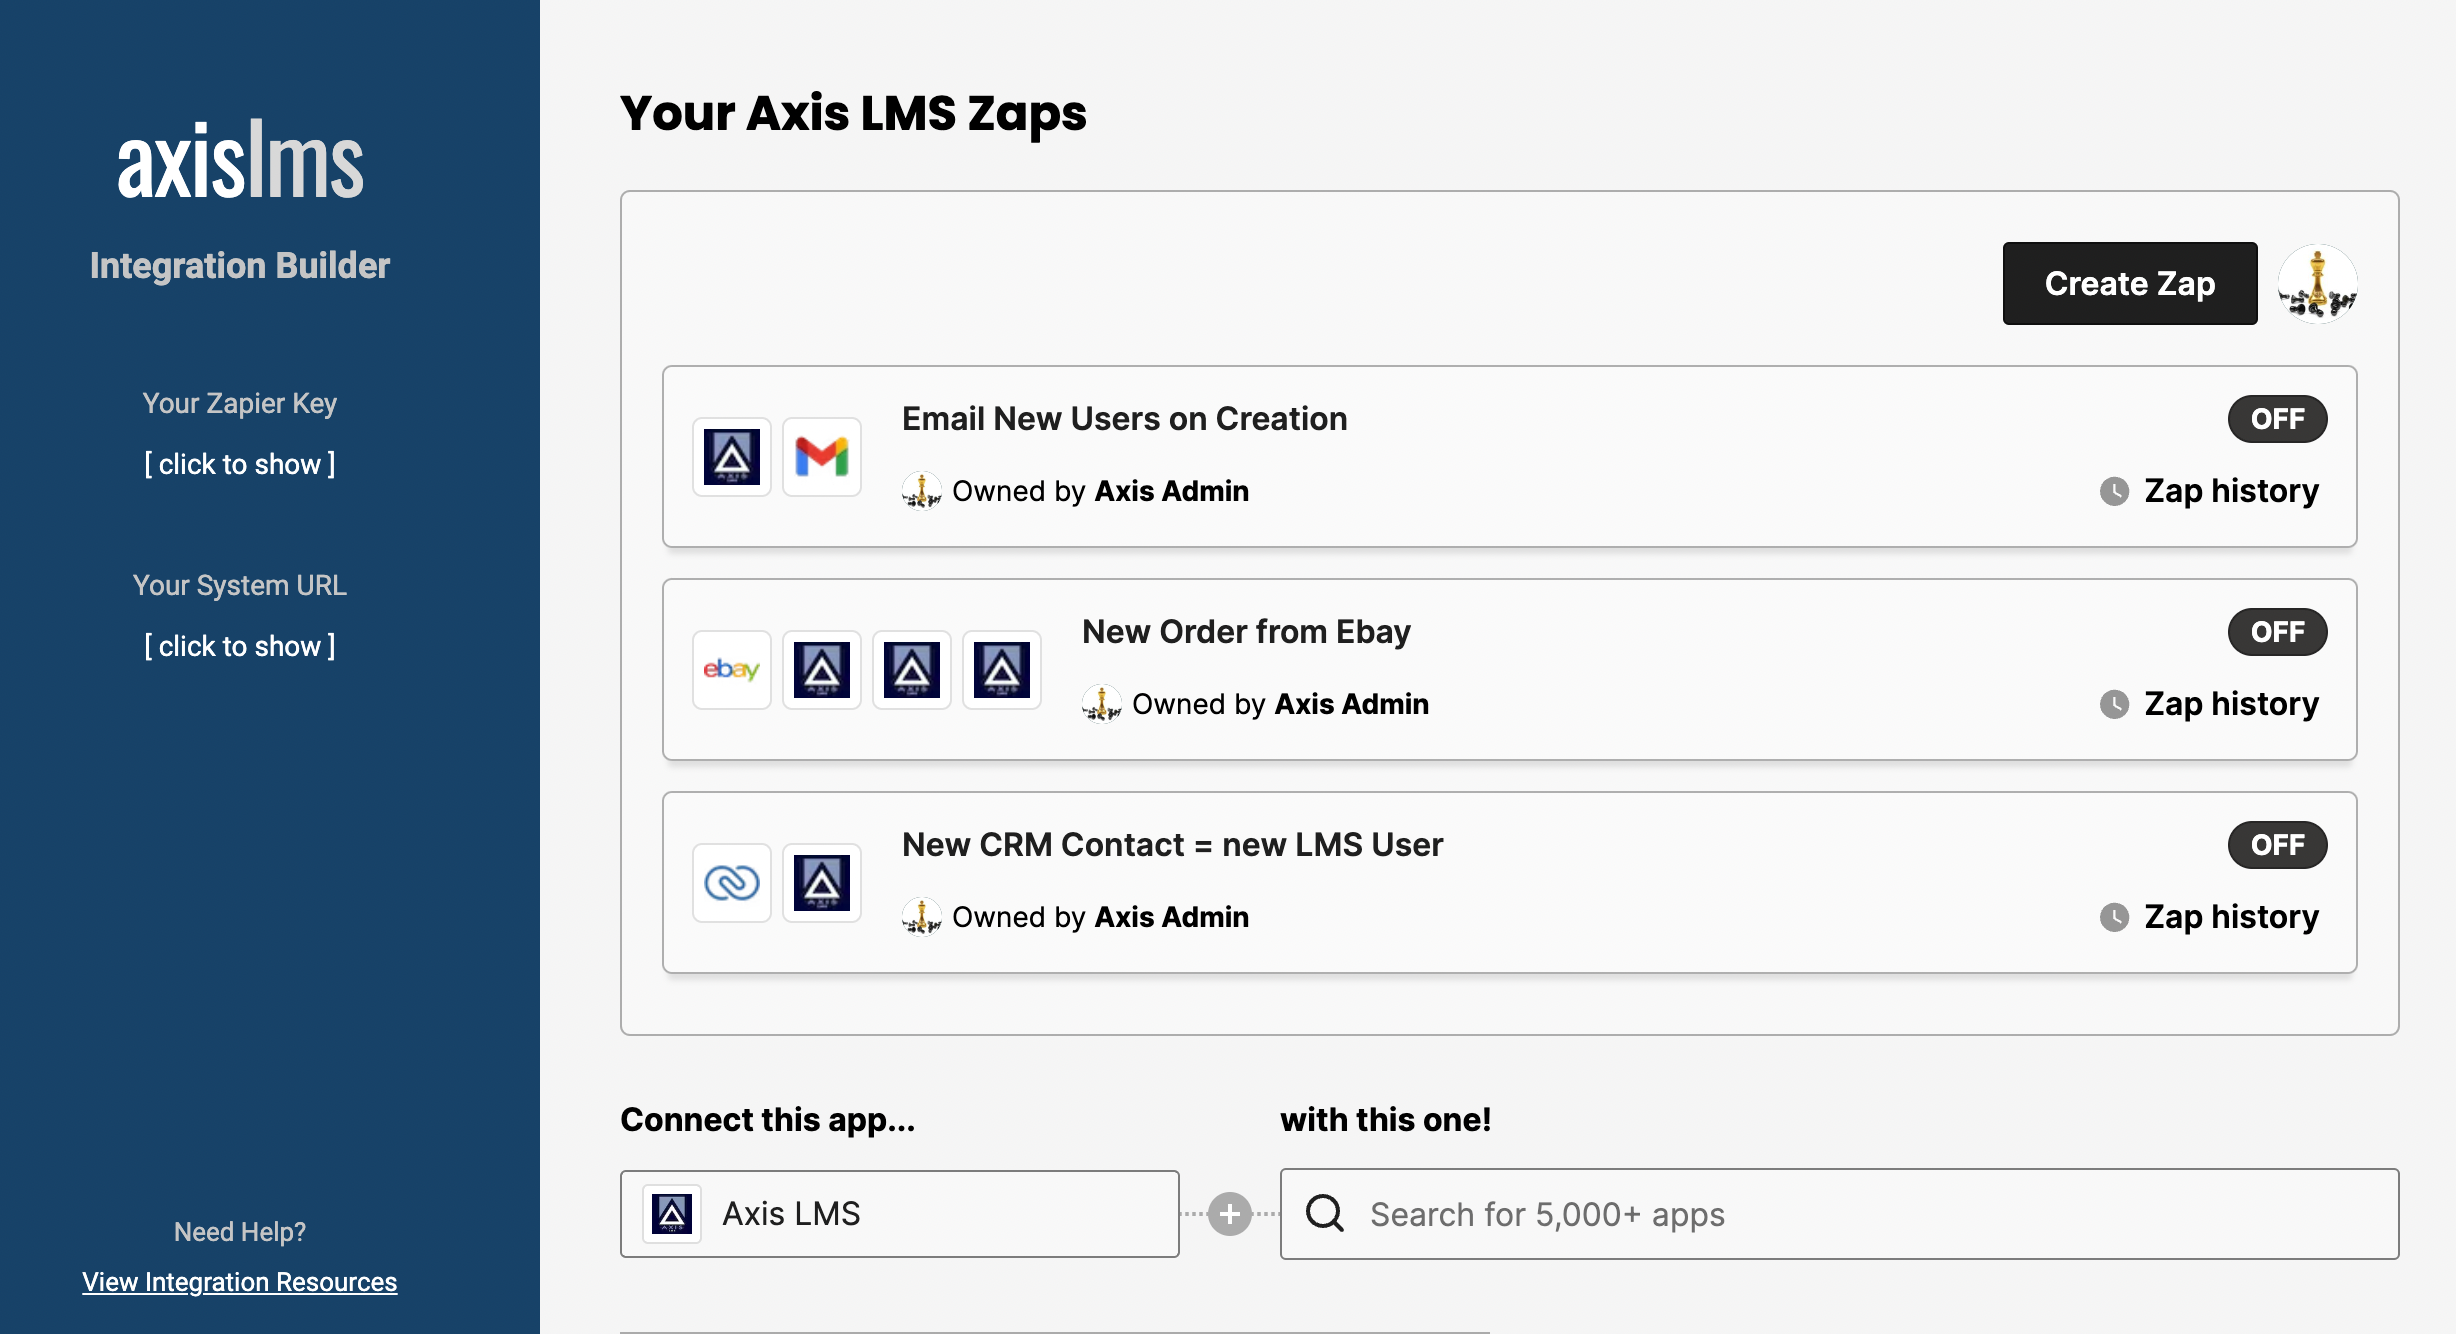
The Integration Builder is partitioned into a left side-bar, and your existing integrations along with a search against compatible integration services on the right.
Note: If this is your first time in the Integration Builder, you will be prompted to sign up / sign into the Zapier Integration Service.
Creating an Integration
Clicking the "Create Zap" button will bring up a 'blueprint' for your integration. The most common integration involves a syncronization from one system to another; for example, when an event on your HR software happens (like a new user is added), it triggers an action on Axis LMS (like adding them into Axis LMS as well and perhaps assigning them some training).
For this example, we'll say that when a Contact is added to our CRM [the trigger], add a user into our Axis LMS [the action].
The Trigger
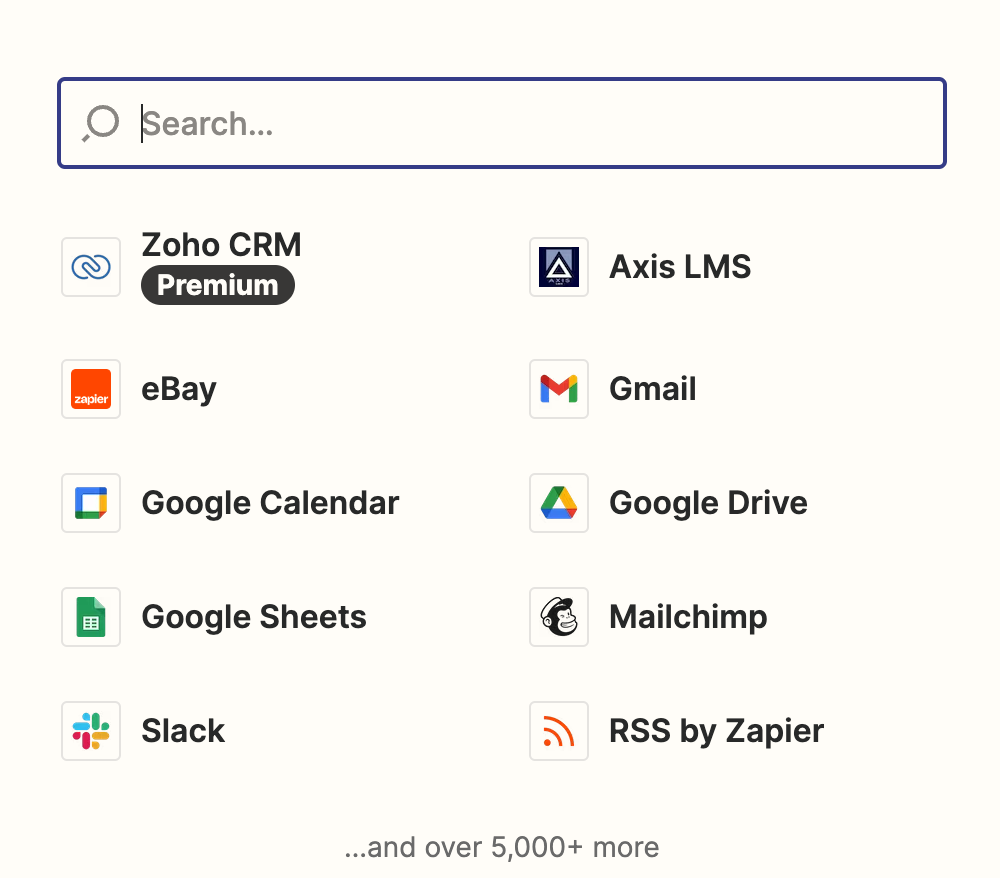
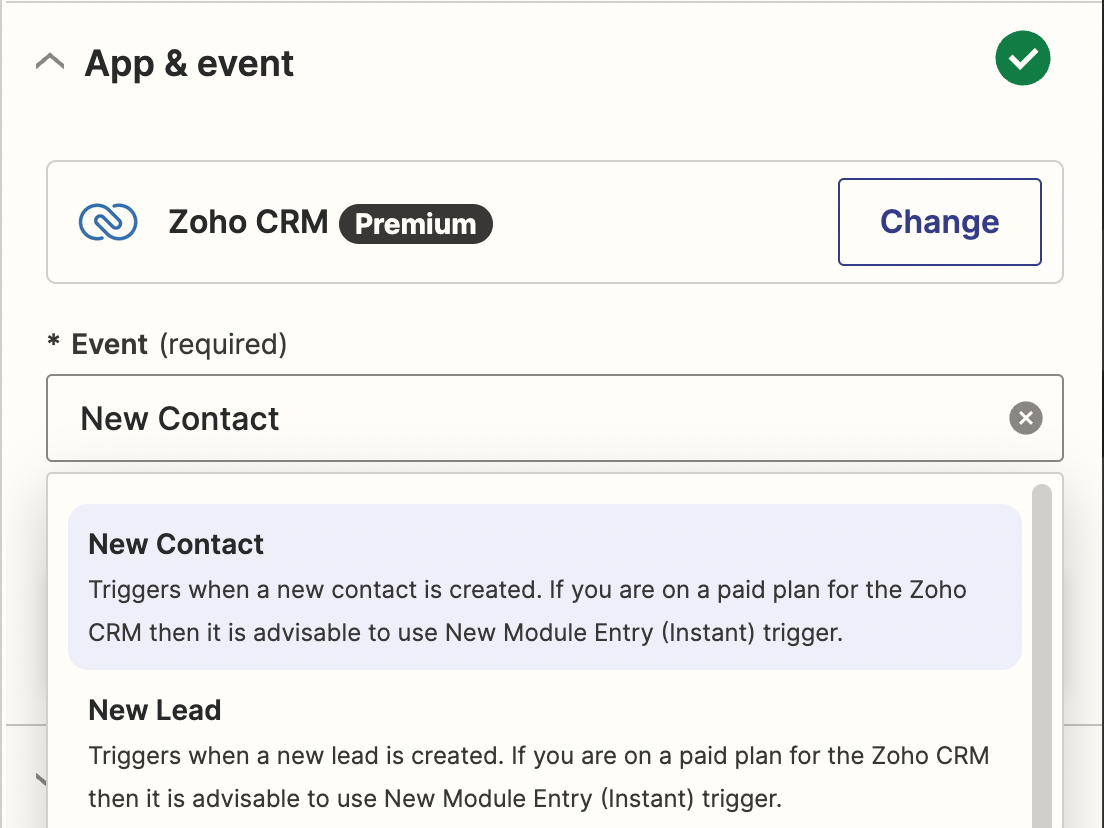
To do this, we'll set up the Trigger by clicking on the Trigger tile, and searching for our triggering service: Zoho CRM.
Next, we select the Trigger Event: New Contact, then click Continue.
Note: For your first Integration with any new service, you will need to connect to the service; usually by providing some account information to log in, or in some cases (such as Axis LMS) an integration key.
Finally, you'll need to test the Trigger. In this case, it will search for recently added Contacts, so the Integration Builder can confirm it is connected. While this step can be skipped, this is the best way to confirm your service is successfully connected.
The Action
With the Trigger built, now it's time to set up the Action. Start by clicking on the Action Tile, then selection the Action Service; in this case, we'll choose Axis LMS.
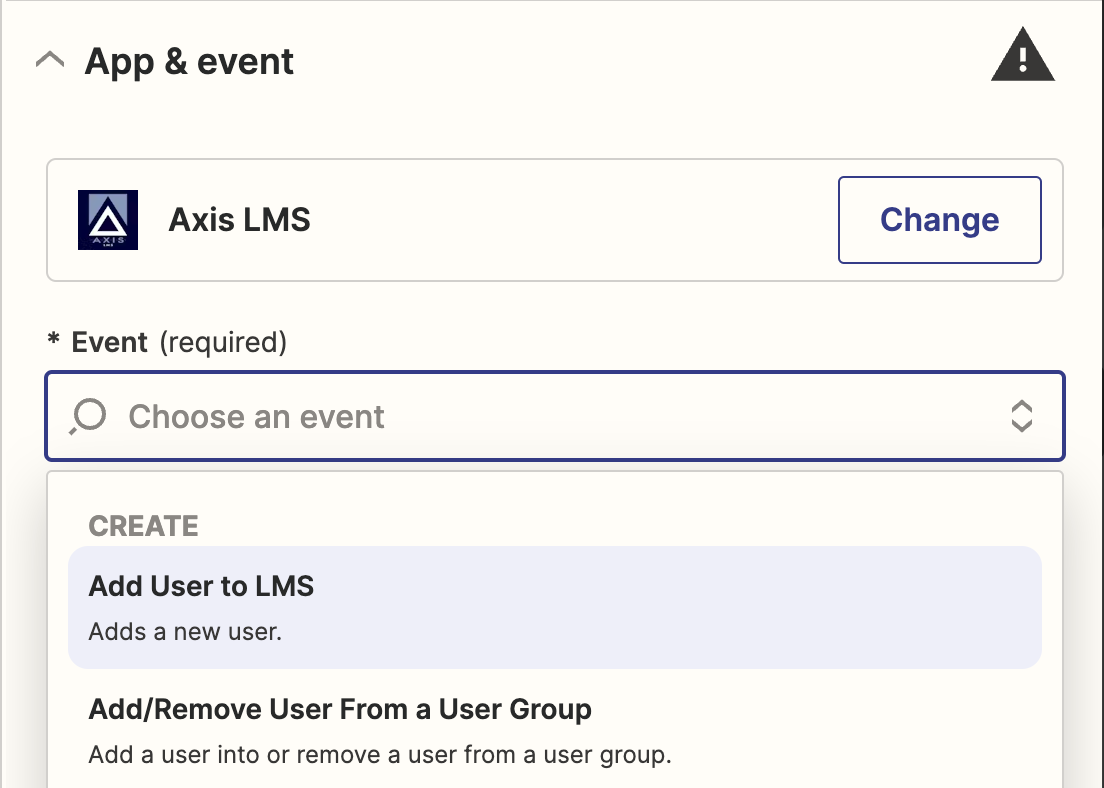
Next, select the Action Event; in this case, Add User to LMS.
Note: For your first Integration, you will need to fill out the Account section for your System, where you'll be prompted for your Zapier Key and System URL (both quickly accessible from the left sidebar).
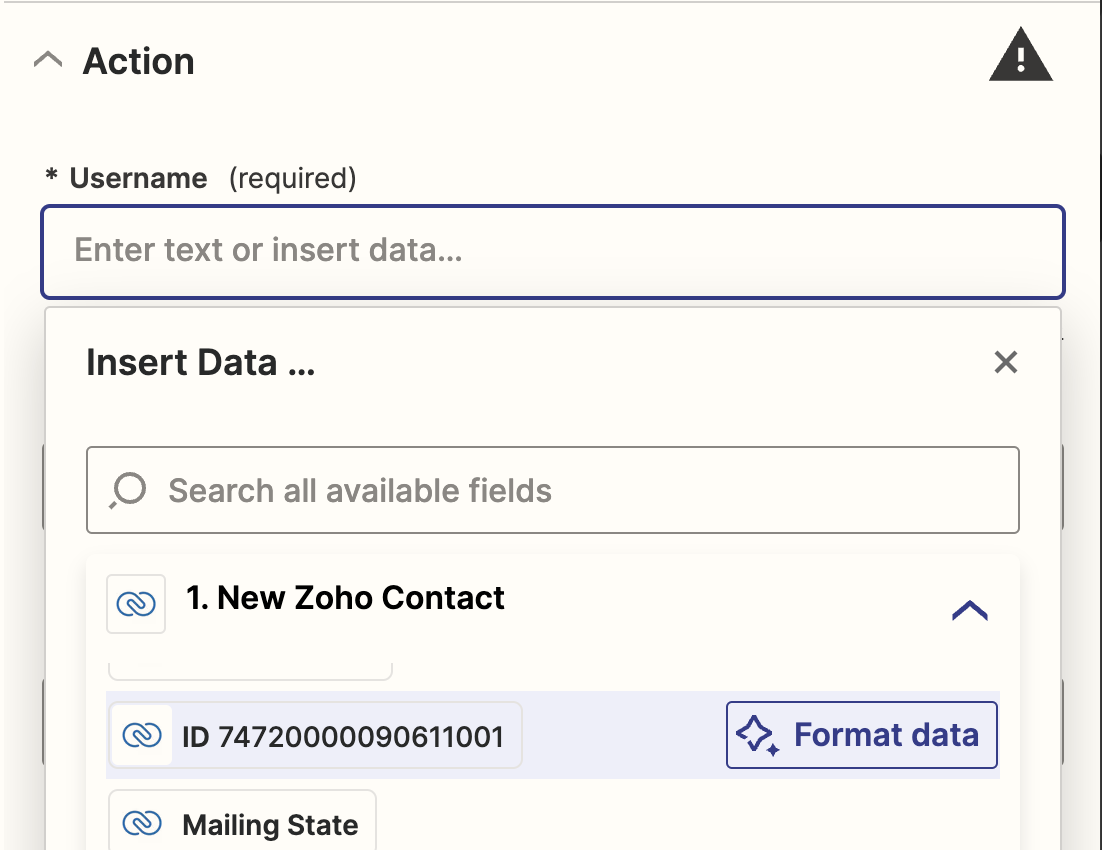
Finally, we'll refine the Action. When the user is created, we're going to take different data fields from Zoho CRM to populate into the user profile. For this example, we'll use the ID assigned from our CRM, and use that as the User ID. We can continue this same exercise for other user fields as well, such as first name; last name; and email address (though we do have access to a majority of their custom fields as well).
When we're all done, we'll Publish the Zap, and close the Blueprint Editor.
The Integration Listing
As your library of Integrations grow, the top half of your Integration Editor will grow with it. Every listing also conveys quite a bit; the icons chosen to represent your Integration list the Triggering service first, and the Action service second.
They can also be named, to easily tell every intended function at a glance. On the right side of the listings, a history of the Integrations can be pulled up, allowing you to see the actions that have occurred automatically since its creation.
Each Integration can be selected to be edited, bringing up the Blueprint Editor again; and from here, the Integration can be turned on or off as needed - without having to start from scratch if the Integration is only being temporarily disabled.