User Creation and Management in Axis LMS

Users are the crux of every Axis LMS. They are composed of employees, shoppers, students, merchandisers, and trainers - whoever it is you’re delivering training to are referred to as "Users" in Axis terminology. They are expected to participate in your system through Courses, Forums, UserConnect, etc.; both their successes and failures culminate in your Reports.

Because of how vital a component Users are to your system, one of the first steps you’ll take as an Axis Administrator is to either Import or Create your users.
Creating Users
Users can be created a variety of different ways, but most of them fall into one of two different methods: manual / Admin-driven, or automated / User-driven.
Users manually added to the system require a direct, deliberate action of either the Admin, Sub-Admin, or Manager to bring the user into existence within Axis.
Automated actions require some setup on the admin side initially; after they’re in place, users are able to complete different actions to bring themselves into existence in your Axis system.
Admin-Driven
There are two main Admin-driven methods to create a user: Importing and individual creation.
Importing users is without a doubt, the best way to create large amounts of users at once. When importing users, you have the option to add the users into both Courses and Usergroups, and send them a system invitation.
- To import users
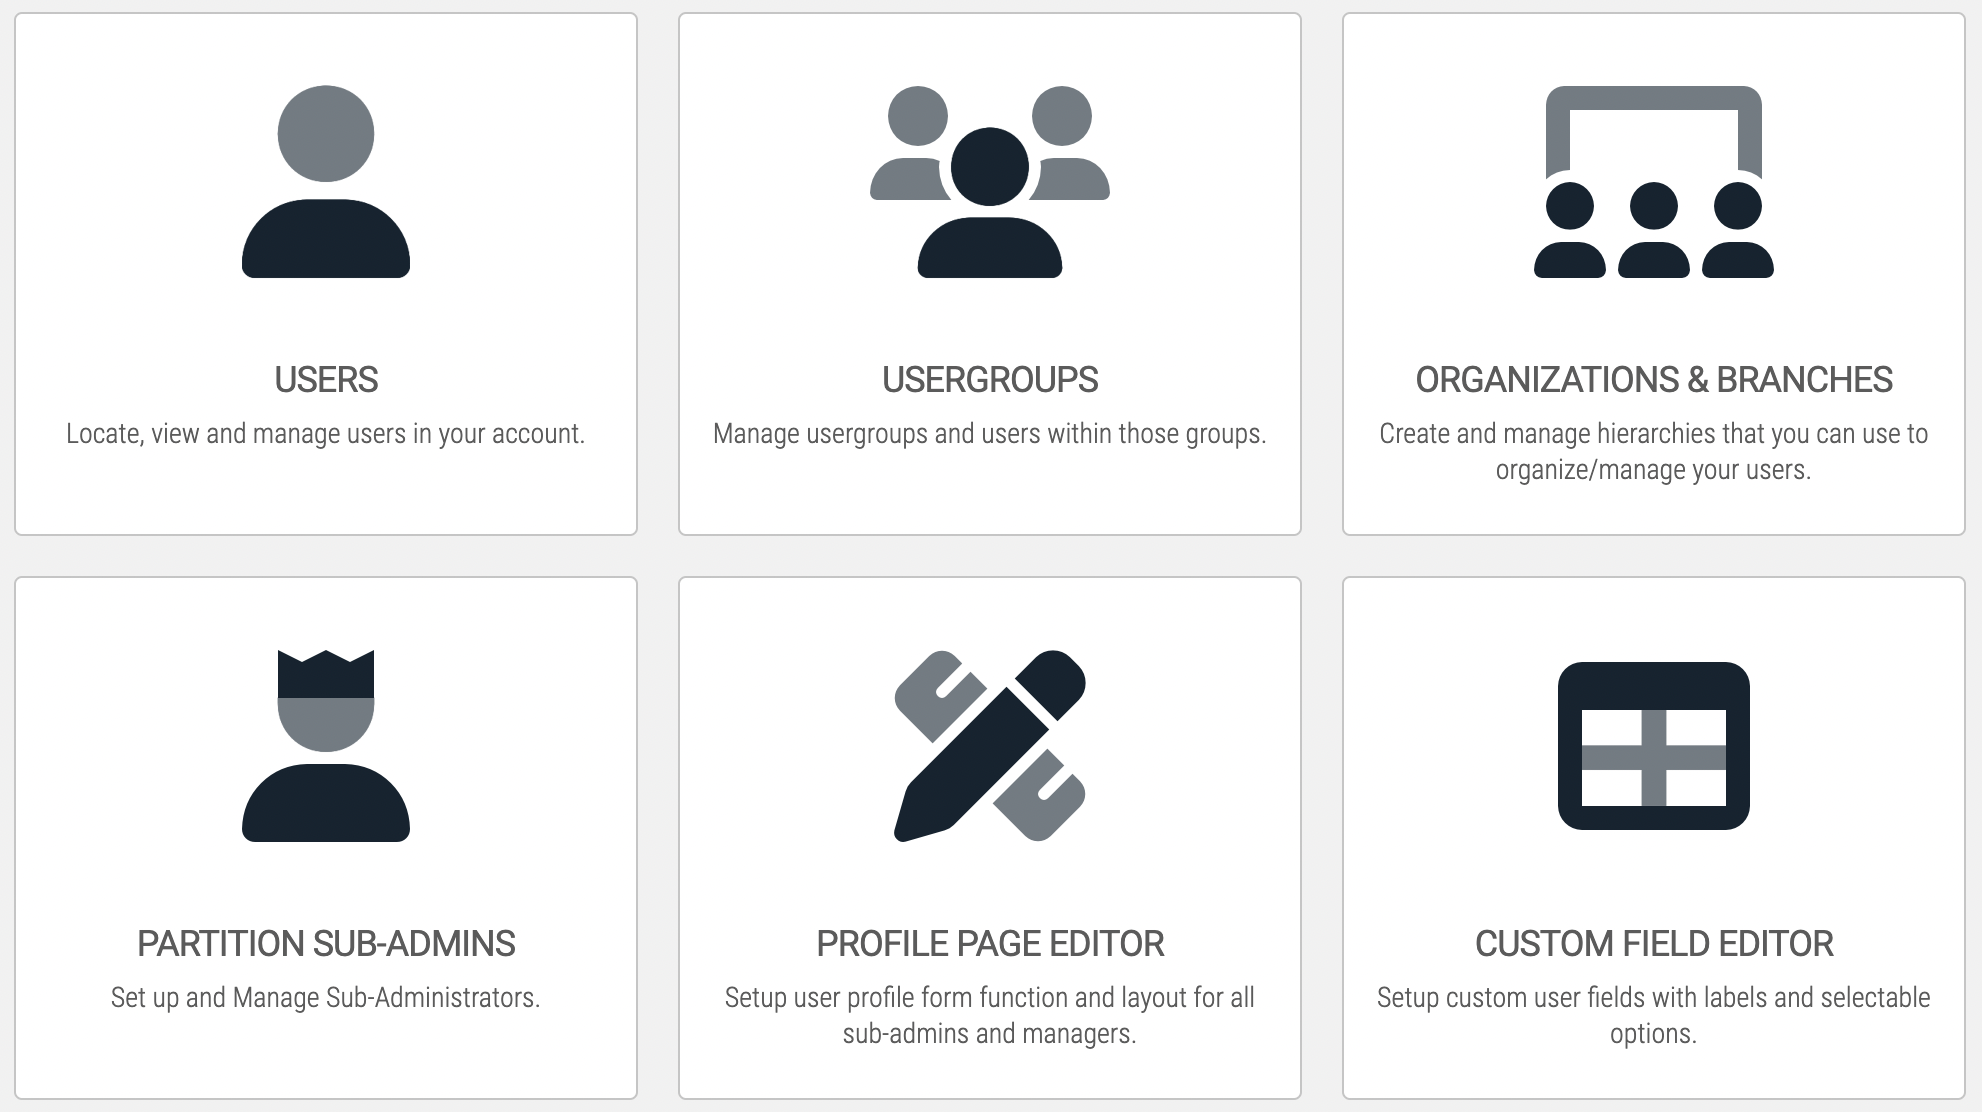
- Manage your Users, then select the Import icon
- Download the import template
(this is found in the description below step 1) - Select which group these users should be a part of
During the import, any errors on your spreadsheet will stop the import; hovering over those errors will let you know why the import is being halted.
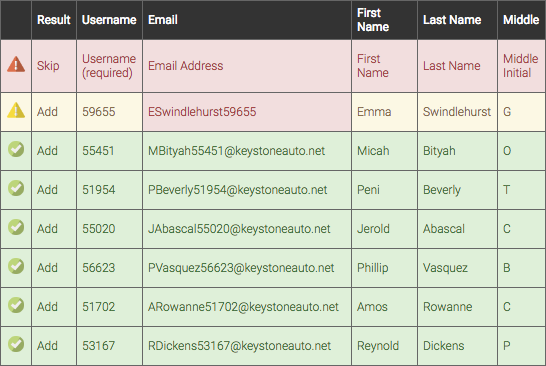
In this example, Emma does not have a valid email address. After correcting the errors on your spreadsheet, save your changes and try importing again.
When you do successfully import your users, you will receive a short report on what users were just imported. You will also be able to see when the users were imported by selecting a user from the Manage Users area, then looking under their full name at the top of the page.

Creating Individual Users is usually used after your initial imports; for example, if an employee wasn’t with your company at the time, and didn’t make it onto the spreadsheet. In these cases, you’ll want to Manage your Users, then select the addition symbol next to your Search bar.
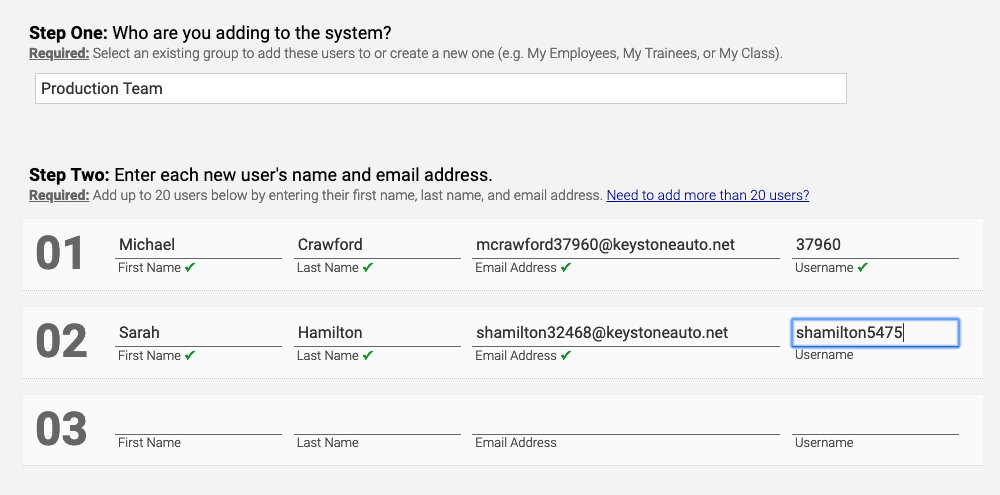
You will be brought to a new page where you'll select who these users are (usergroup), and then fill out some basic information. As you fill out their info, Axis will attempt to suggest usernames to you, but as you can see in the image below, these can be overwritten. Like imported users, they will receive a temporary password automatically generated by the system.
Unlike imported users, their additional information - address, courses, custom fields, etc. - will need to be assigned after their creation.
The User Profile allows you to update all the user’s information, and is broken into three tabs: General Info, Customized Fields, and Notes & Other.
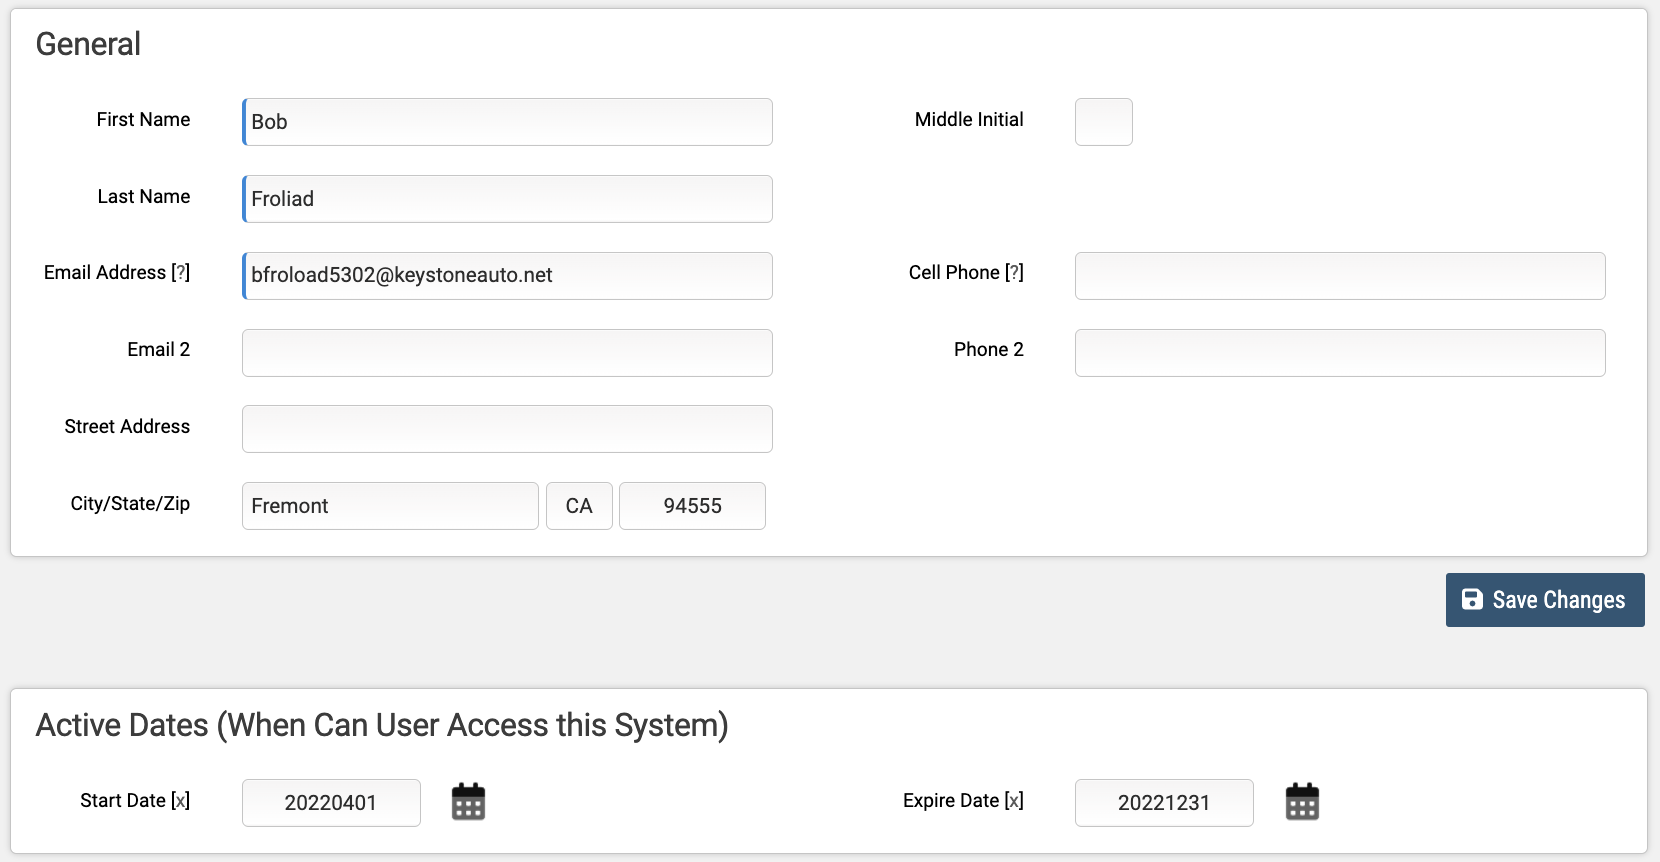
The General Info sub-tab is where you can control all the other non-usergroup / non-course data. You can add / update their First Name, Last Name, Initials, email, phone, address, select their interface language and add a profile picture; as well as their active dates and the Company they’re employed under.
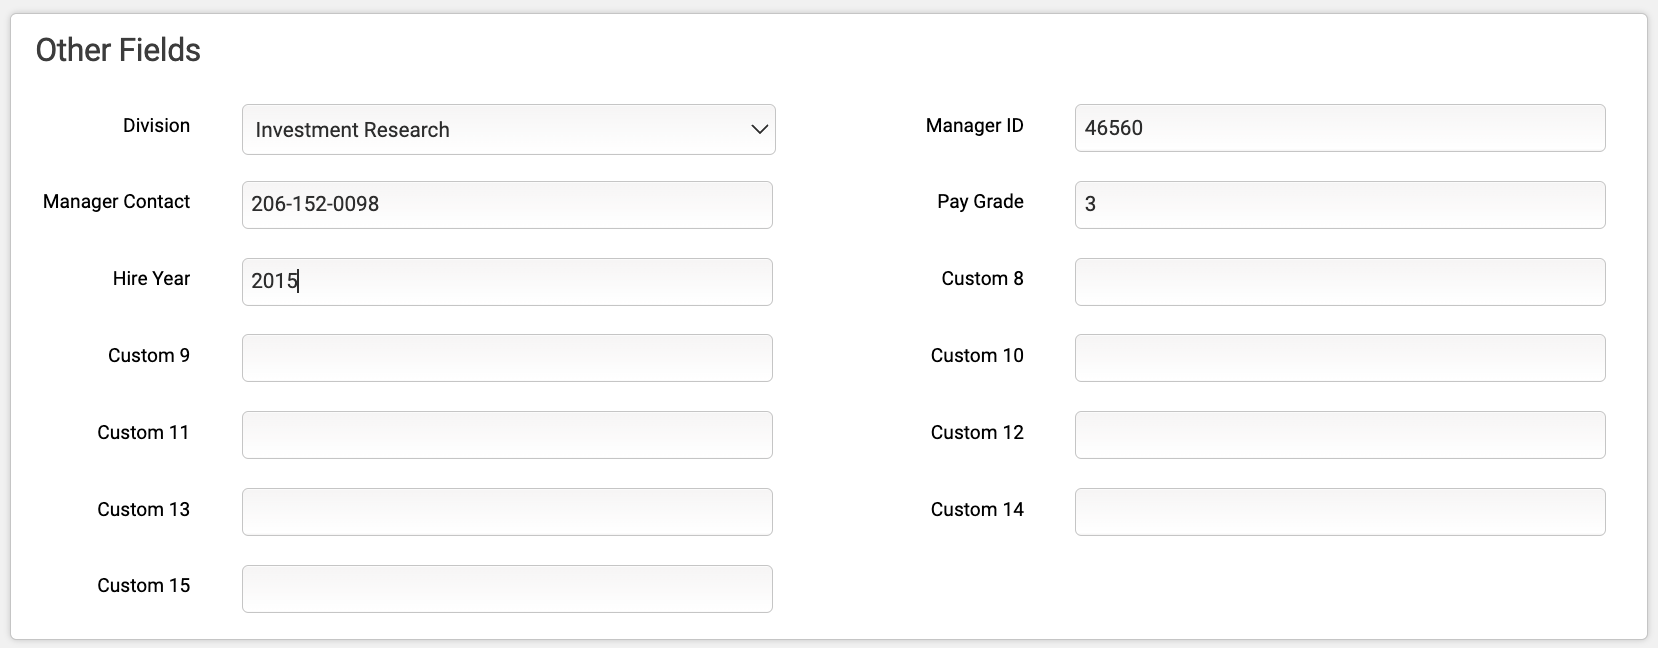
The Customized Fields sub-tab contains all of the custom fields. All of the fields will match the values and names assigned in the Custom Fields area.
The Notes & Other tab allows you to make admin-facing notes about the user, and change the user’s Username.
User-Driven
There are a handful of ways that your visitors can create users for themselves. Once enabled, User Creation is now available without the admin’s hand; and while it’s an extremely useful tool, if you don’t want users to be created without administrative authority, investigate these areas to make sure you’re not taking on extra users.
Open Course Enrollment allows users to create a user and enroll into a Course in one action. To create a user for themselves, visitors will need to know a particular Course’s enrollment page link; this isn’t a link that could be easily guessed, so unless you’re handing this link out, it’s unlikely that they’ll ever arrive at this page.
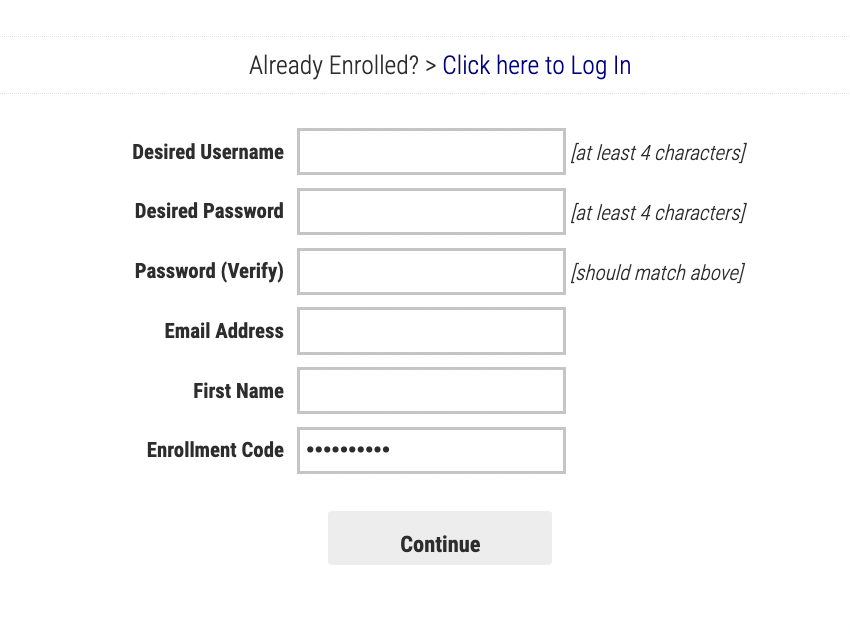
But if a visitor does reach this page, they’ll only need to fill out a few fields to create and enroll themselves. To prevent this, add an Enrollment Code to the page. This will require that any would-be users know that code in order to complete the creation and enrollment process.
To edit this page, open one of your Course’s Page Manager, then select the Enrollment Page tab. In the Enrollment Code field, type in your code - this will assure that only visitors you want to be able to create users will be able to.
Widgets are an amazing powerful and versatile tool which allows admins with no technical knowhow to create sleek, professional websites. But with that power, you also open up the ability for Public Website visitors to create users for themselves; while this isn’t a bad thing, you will want to be able to identify how users are being created in your system.
Most of the Widgets are on the Learning Portal, and locked down so that only existing users can interact with them. But the next level up is your Public Website, which has two widgets you’ll want to monitor closely: the Course Enrollment Catalog Widget, and the New User Sign-Up.
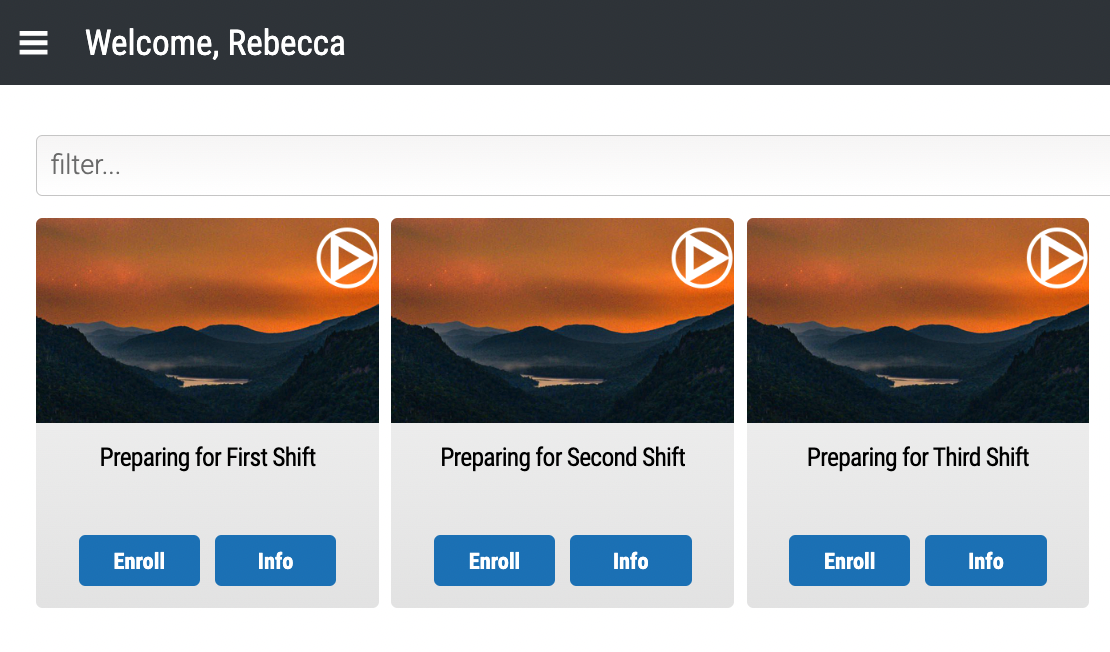
The Course Enrollment Catalog Widget will display all of your Courses that are set up to show in your catalog, but are not for sale - these can be openly enrolled into; and will allow visitors to create users as part of their enrollment. This enrollment will not use the Course’s Enrollment Page, so Enrollment Codes are not an effective solution if you want to restrict enrollment.
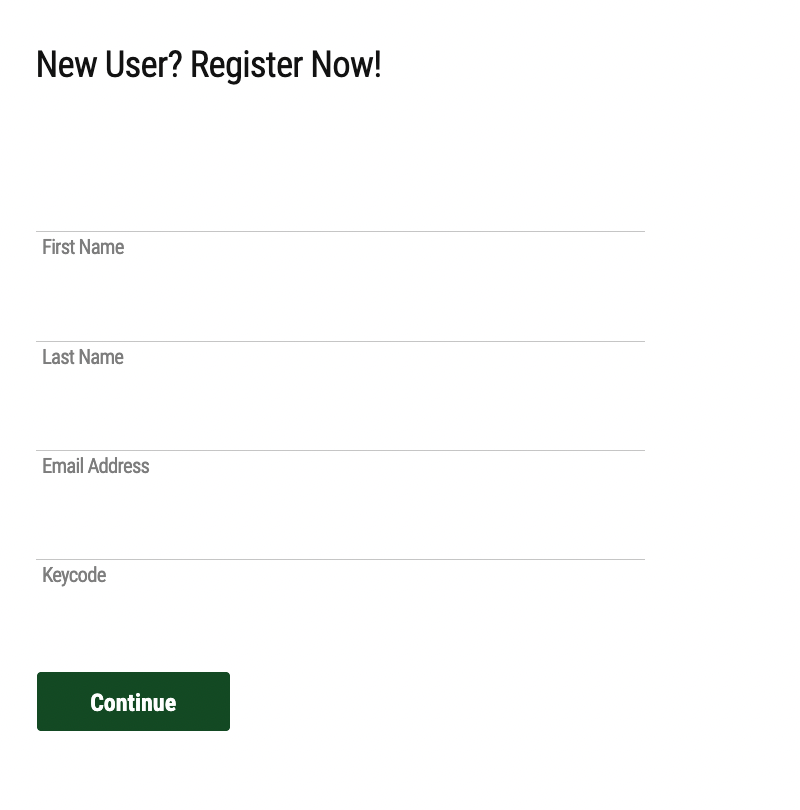
The New User Sign-Up Widget, while extremely useful (especially for allowing visitors to sign up under different languages or usergroups), it does allow anyone who accesses that page to create users. If you want to restrict this, either remove the widget, or make the page less accessible to the open public.
If your system is set up to Sell Content, then visitors will need to create a user as a step of their purchasing process. There is no way to prevent visitors from creating users, while still selling content. However, it is worth noting that until the user’s transaction is successful, they will be created as an Inactive user.
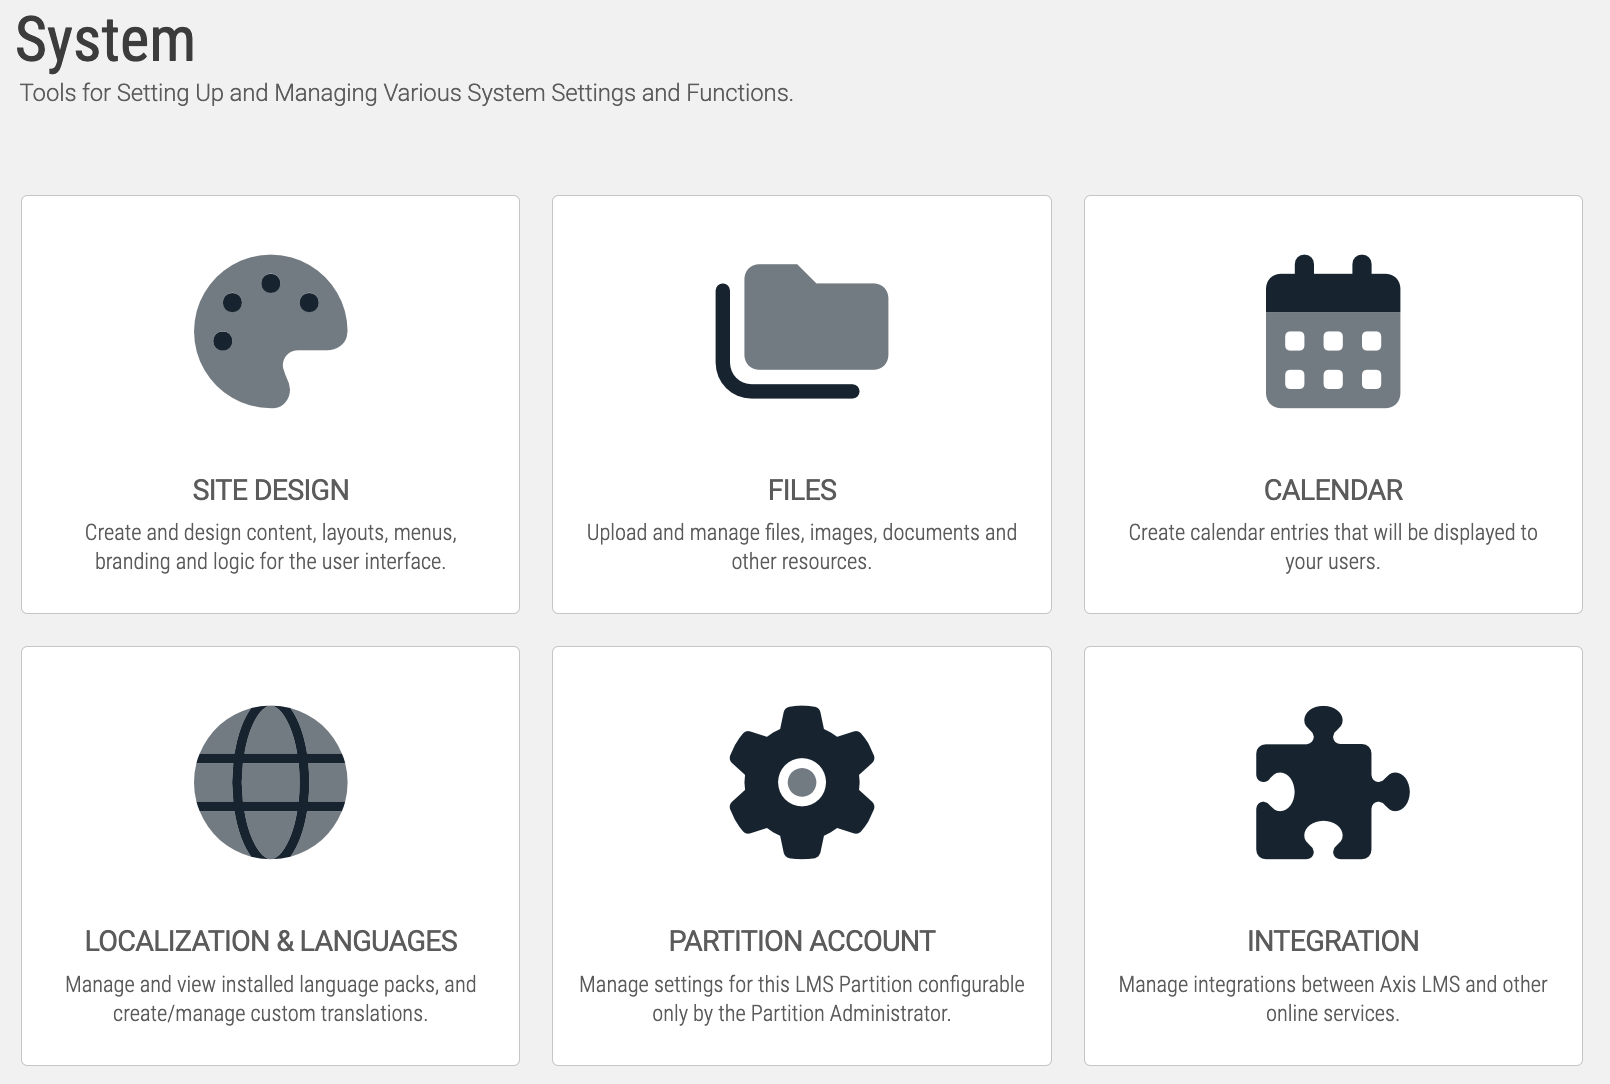
Axis has a powerful API available for all of its admins to use; unlike other automated creation processes, accidentally creating users through API is going to be almost entirely impossible. However, if you want to make sure that users cannot be created through any API calls, the easiest solution for the admin is to disable your API keys by navigating from your System tab, to Integration, then accessing the Axis API icon.